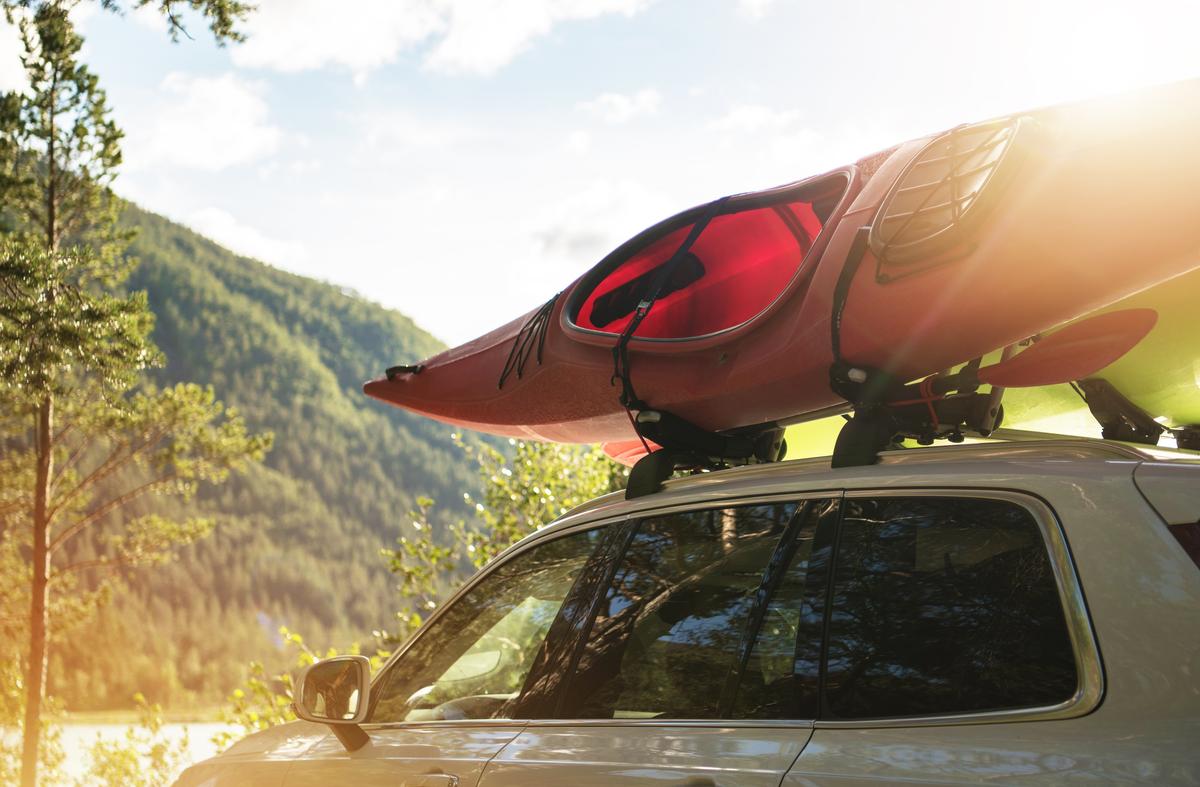
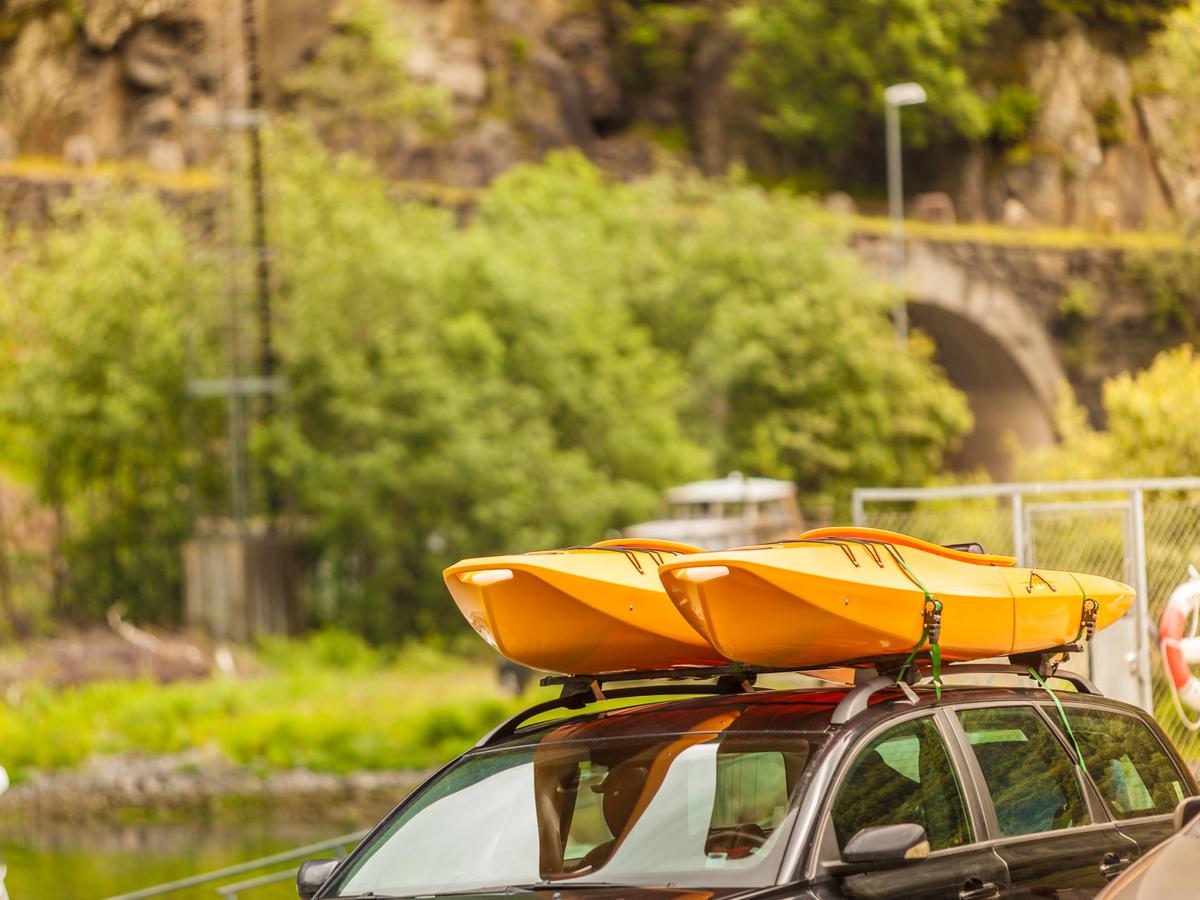
Kayaking is a fantastic opportunity to experience the explore the natural beauty splendor and great outdoors. But moving a kayak from one location to another might be difficult, particularly if your kayak roof rack on a car without rails.
Fortunately, mounting a kayak roof rack is a very easy task that only requires a few basic tools. This article will walk you through the process of mounting a kayak roof rack on a car without rails.
Everything you need to know to get started will be covered, from picking the best roof rack to comprehending the ideal positioning and attaching the kayak.
So, if you’re currently planning a kayak trip excursion, keep reading to find out how to set up a kayak roof rack and simplify your trip.
Table of Contents
1. Introduction to kayak roof racks for cars without rails
If you’re an avid kayaker and love to explore the open waters, having a reliable and secure way to transport your kayak is crucial.
The installation of roof racks is made simple by the roof rails that many cars have, but what if your vehicle lacks rails? Be at ease! We’ll walk you through the installation procedure for kayak roof racks that are specifically made for vehicles without rails in this step-by-step installation guide.
Kayak roof racks are made to securely attach to the roof of your car utilizing several installation methods for automobiles without rails. These racks often have foam padding, hooks, and straps with adjustment that provide your kayak a secure base.
Everything you need to know about mounting kayak roof racks on vehicles without rails will be covered in this article. We’ll leave no stone unturned, from assembling the required equipment and supplies to guaranteeing a good fit.
Introducing the Installation Process for Cars Without Rails
Adding a way to place cars without rails can be a game-changer for anyone who wants to add more storage space to their car. Even though roof rails come with a lot of cars, there are still a lot of cars that don’t have them. There are other choices, which is a good thing.
The first step in installing a roof rack is choosing the right setup for your car. There are different kinds to choose from, such as those that clamp onto the door frame or those that hang on the wall.
Once you’ve decided on the right rack, carefully read the directions that came with it. Most of the time, these steps will show you step-by-step how to attach the rack to the roof of your car. Make sure to follow the steps exactly to make sure the installation is safe and reliable.
After installing the rack, it’s important to make sure it’s stable to avoid any crashes while driving. With a roof rack system, you can carry more cargo, whether it’s for a family road trip or to carry larger things that won’t fit inside your car.
2. Choosing the right kayak roof rack for your car
Getting the right kayak roof rack for your car is important if you want to make sure your kayak gets there safely. When there are so many choices on the market, it can be hard to choose the right one. But if you think about a few important things, you can choose the right kayak roof rack for your car and your needs.
First, it’s important to know what kind of roof your car has. Some cars come with roof rails or crossbars added at the factory, while others have a bare roof with no connection points already in place. If your car doesn’t have rails, you’ll need to look for kayak roof racks that are made to work with “naked” tops.
Another important factor to consider is the type of kayaks you will be transporting. Some roof racks are designed to accommodate specific kayak shapes and sizes, such as sit-on-top kayaks or sea kayaks. Ensure that the rack you choose is suitable for your specific kayak model.
Lastly, think about any extra features or tools that might make sailing more fun for you. Some kayak roof racks have padding or straps that you can change to make them safer and more stable. Some may have locks or tie-down systems built in for extra safety during travel.
Exploring Options for Cars Without Existing Roof Rails
If your car doesn’t have roof rails, don’t worry! You still have a lot of choices for adding roof racks and increasing the amount of space you can store.
One choice is to put a roof rack on your car that clamps onto the door frames. Most of the time, these racks have rubber pads that can be adjusted to grip the car securely without damaging the paint.
A suction cup roof rack is another choice. It sticks firmly to the roof of your car with the help of strong vacuum suction cups. These racks can be used for many different things and are easy to put up and take down as needed. Some car types may have extra roof rail kits that can be put by a pro for those who want a more fixed option.
These kits give your roof rack a smooth, combined look while still letting you connect different extras. Even cars that don’t have roof rails can be turned into flexible vehicles that are ready for any trip with these choices.
3. Gathering the necessary tools and materials
Before you begin installing a kayak roof rack on a car without rails, it is crucial to gather all the necessary tools and materials. Having everything prepared beforehand will save you time and ensure a smooth installation process.
Here’s a comprehensive list of tools and materials you will need:
1. Kayak roof rack kit: Purchase a suitable kayak roof rack kit specifically designed for cars without rails. Ensure it is compatible with your vehicle’s make and model.
2. Tape measure: This tool will come in handy for accurately measuring and aligning the placement of the roof rack.
3. Screwdriver or wrench: Depending on the type of roof rack kit you have, you may need either a screwdriver or a wrench to secure the rack components in place.
4. Allen wrench or hex key: Some roof rack kits use Allen screws or bolts, so having the appropriate Allen wrench or hex key will be necessary for assembly.
5. Roof rack pads: These pads provide cushioning and protection for your car’s roof while also preventing the rack from scratching the paintwork.
6. Straps or tie-downs: These are essential for securing the kayak to the roof rack once it is installed. Make sure you have sturdy and reliable straps that can withstand the weight of your kayak.
7. Cleaning supplies: Before installing the roof rack, it is advisable to clean and dry the roof of your car to ensure proper adhesion and prevent any dirt or debris from affecting the installation process.
8. Safety equipment: It is always important to prioritize safety. Consider wearing gloves and safety goggles to protect your hands and eyes during the installation.
By gathering all these tools and materials in advance, you will be well-prepared to begin the installation process with ease and confidence. Follow the subsequent steps meticulously to ensure a secure and functional kayak roof rack installation on your car without rails.
4. Preparing your car for installation
Before you start putting kayak roof racks on a car without rails, you need to make sure your car is ready. This step is very important to make sure that the installation process is safe and secure.
First, clean the roof of your car very well. Get rid of any dirt, grime, or other things that could make it hard to put the roof racks in place or damage them. Clean the surface with a mix of light soap and water, and then dry it with a soft cloth.
Next, look for any scratches or dents on the roof of your car. Before moving forward with the work, it is important to deal with these problems. If you find any damage, you might want to get it fixed to keep your car in good shape and make sure the roof racks fit well.
Measure the width of your car’s roof once the surface is clean and free of any damage. This step is needed to figure out the right size of kayak roof racks and make sure they fit right. Make sure to accurately measure the distance between the edges of your car’s roof for a safe fitting.
Cleaning the Roof Surface for Proper Attachment
Keeping your roof clean and free of trash is important for how long it will last and how well things will stick to it.
Over time, things like leaves, twigs, dirt, and even moss can build up on the surface of your roof, making it harder for the materials to stick together and possibly causing damage. Before any installation, it is important to clean the roof surface well so that the connection will be strong and last. Start by sweeping or blowing away any loose dirt or leaves.
Next, use a power washer to gently remove stubborn dirt and grime, being careful not to damage the roof’s surface. If you see moss or algae growing on your roof, you could kill and remove them with a light bleach solution or a product made just for cleaning roofs.
Lastly, make sure to check for broken or loose shingles and fix them before moving on to the next step. By taking the time to clean and prepare the roof surface well, you can make sure that the roof materials will stick to your home well and for a long time.
5. Installing the base roof rack system
Installing the base roof rack system is the crucial first step in setting up your kayak roof racks on cars without rails. This system provides the foundation for securely mounting the racks and ensuring a safe and stable transport of your kayak.
Before you begin, make sure you have all the necessary components and tools. Most base roof rack systems consist of crossbars, towers, and fit kits specific to your vehicle make and model. Additionally, you will need a measuring tape, wrenches or Allen keys, and a level.
Start by determining the optimal position for the crossbars on your vehicle’s roof. This will depend on factors such as the kayak’s length, the car’s dimensions, and any potential obstructions. Measure the width of your vehicle’s roof and mark the center point for placing the crossbars.
Next, attach the towers to the crossbars according to the manufacturer’s instructions. This typically involves sliding the towers onto the crossbars and securing them with bolts or clamps. Make sure the towers are evenly spaced and aligned with the center point marked earlier.
Once the towers are in place, position them on the roof of your car. Use the measuring tape and level to ensure they are aligned and parallel to each other. Adjust the position as necessary to achieve a balanced and secure fit.
Now it’s time to secure the base roof rack system to your vehicle. Depending on the design of your car, this may involve clamping the towers onto the door frames or attaching them to specific mounting points. Follow the manufacturer’s instructions carefully to ensure a proper and sturdy installation.
After attaching the base roof rack system, give it a final check for stability and tightness. Shake the crossbars gently to ensure they are securely fastened and won’t move during transport. Double-check all the bolts and connections to ensure everything is properly tightened.
Congratulations! You have successfully installed the base roof rack system for your kayak roof racks on cars without rails. Now you’re one step closer to enjoying your kayaking adventures while knowing your kayak is safely and securely mounted on your vehicle.
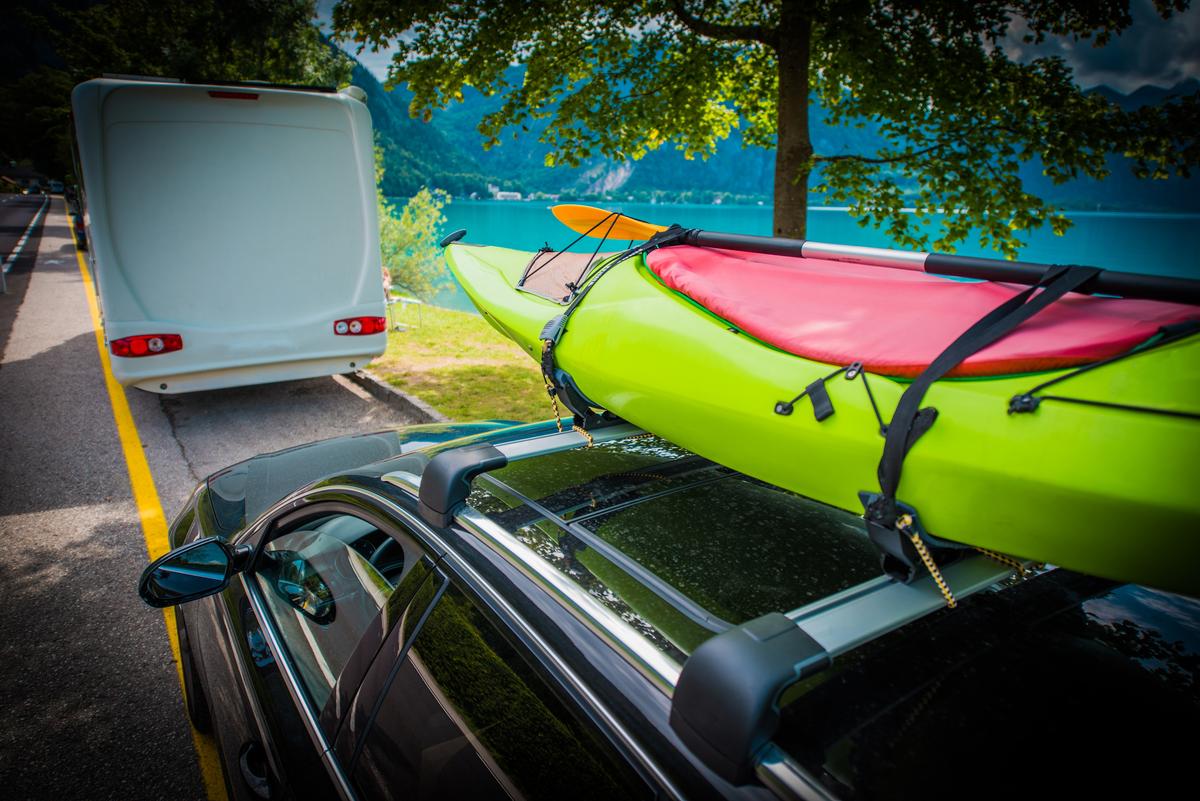
6. Adding the kayak cradles or J-bars
Adding the kayak cradles or J-bars to your car’s roof rack is the next step in this ultimate installation guide for kayak roof racks on cars without rails. These accessories are specifically designed to securely hold and transport your kayak, providing stability and protection throughout your journey.
To begin, gather your kayak cradles or J-bars, along with any necessary installation hardware such as bolts, nuts, and washers. Carefully read the manufacturer’s instructions and familiarize yourself with the components before proceeding.
Start by positioning the cradles or J-bars on the roof rack crossbars. Ensure that they are evenly spaced and aligned with the center of the vehicle. It’s essential to place them at a distance that allows for proper weight distribution and stability during transportation.
Once you have determined the correct placement, use the provided hardware to attach the cradles or J-bars securely to the roof rack crossbars. Make sure to tighten the bolts adequately, ensuring a firm and stable connection.
Next, adjust the cradles or J-bars to accommodate the size and shape of your kayak. Most models have adjustable features that allow you to customize the fit. It’s crucial to position the kayak in a way that ensures equal weight distribution and prevents any shifting or movement during transit.
Carefully place your kayak onto the cradles or J-bars, making sure it is centered and aligned with the vehicle. Take note of any additional straps or tie-downs that may be required to secure the kayak further. These can typically be attached to designated anchor points on the cradles or J-bars.
Once your kayak is properly positioned and secured, double-check all connections and tighten any loose components. Give the kayak a gentle shake to ensure it is stable and won’t shift during transport.
It’s also essential to follow any additional guidelines provided by the kayak manufacturer or the roof rack accessory manufacturer to ensure safe and secure transportation.
By adding the kayak cradles or J-bars to your car’s roof rack, you can confidently transport your kayak to your next adventure, knowing that it is securely fastened and protected. Enjoy the freedom of exploring new waterways with the peace of mind that your kayak is in safe hands.
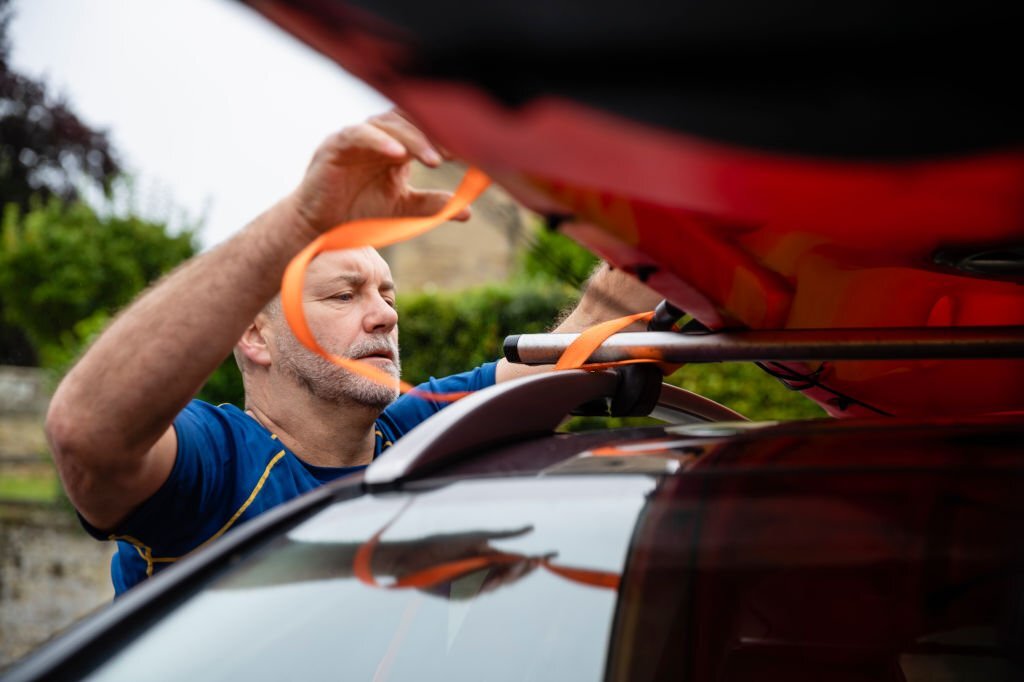
7. Securing the kayak onto the roof rack
Securing your kayak onto the roof rack is a crucial step to ensure a safe and worry-free journey. Here are the steps to follow for a secure installation:
1. Position the kayak: Start by positioning your kayak onto the roof rack, making sure it is centered and aligned with the vehicle. Place foam or padding between the roof rack and the kayak to prevent any scratches or damage.
2. Attach the straps: Take the straps provided with your kayak roof rack and secure them around the kayak. Begin by wrapping one strap around the front of the kayak, passing it under the roof rack bars, and bringing it back up towards the kayak. Repeat this process with another strap for the rear of the kayak.
3. Tighten the straps: Once the straps are in place, tighten them securely. Make sure to apply even pressure on both sides of the kayak to maintain balance. Check that the kayak is firmly attached to the roof rack, minimizing any movement or wobbling.
4. Use bow and stern tie-downs: To provide additional stability, attach bow and stern tie-downs. These straps will secure the front and rear of the kayak to the vehicle’s bumpers or tow hooks.
Pass the straps through the grab handles or secure attachment points on the kayak, and then secure them to the appropriate anchor points on the vehicle.
5. Double-check the security: Before hitting the road, double-check the security of the kayak. Give it a gentle tug to ensure it is firmly attached to the roof rack. Check that all straps are tight, and there is no excessive movement or play.
Remember, safety should always be the top priority when transporting your kayak. Regularly check the straps and connections during your journey to ensure they remain secure. By following these steps, you can have peace of mind knowing that your kayak is properly secured and ready for your next adventure.
8. Adjusting and tightening the roof rack components
Once you have successfully installed the kayak roof rack on your car without rails, it’s important to properly adjust and tighten all the components to ensure a secure and stable fit. This step is crucial in preventing any potential accidents or damage to your kayak and vehicle during transportation.
Start by double-checking the tightness of all the bolts, clamps, and brackets that hold the roof rack in place. Use a socket wrench or an appropriate tool to ensure that they are securely fastened. Loose components can cause the roof rack to shift or become unstable while driving, which can be dangerous.
Next, adjust the position of the kayak saddles or J-bars on the roof rack to accommodate the size and shape of your kayak.
The saddles should be evenly spaced and aligned parallel to the length of the kayak. This will help distribute the weight of the kayak evenly and prevent any unnecessary stress on specific areas of the roof rack.
Once the saddles are in position, place your kayak onto the roof rack. Make sure it is centered and aligned properly before proceeding. Adjust the position of the saddles if needed to ensure a snug fit and proper weight distribution.
After placing the kayak, secure it tightly to the roof rack using the provided straps or tie-downs. It’s important to properly thread the straps through the appropriate attachment points on the roof rack and around the kayak. Pull the straps tight and fasten them securely to prevent any movement or shifting of the kayak during transit.
Finally, give the entire roof rack setup a final inspection. Shake the kayak gently to check for any looseness or movement. If you notice any instability, readjust and tighten the components as necessary.
Remember, the key to a safe and successful kayak transport is ensuring that your roof rack is properly adjusted, tightened, and secured. Taking the time to do this step correctly will give you peace of mind and allow you to enjoy your kayaking adventures without worrying about the safety of your equipment.
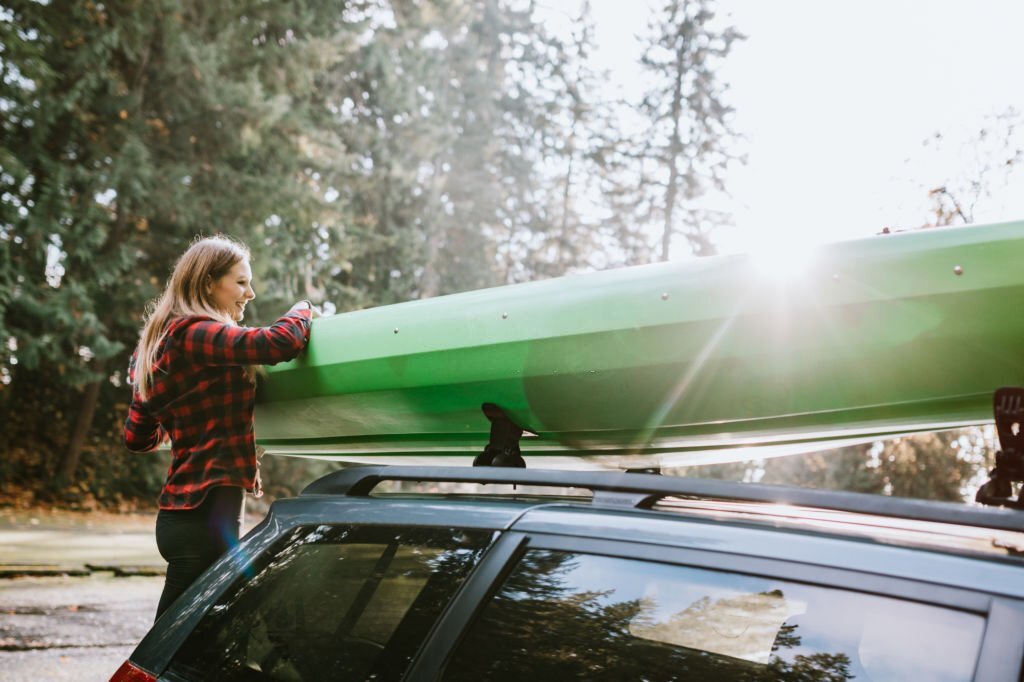
9. Testing the stability and security of the kayak roof rack
Once you have successfully installed your kayak roof rack on your car without rails, the next crucial step is to test its stability and security. This step is essential to ensure the safety of your kayak and other drivers on the road.
To begin, carefully place your kayak onto the roof rack, making sure it is centered and properly aligned. Once the kayak is in position, secure it tightly using the straps or tie-downs provided with the roof rack. Double-check that all straps are properly tightened to prevent any movement during transit.
Next, it’s time to assess the stability of the kayak roof rack. Gently push and pull the kayak from different angles to check for any wobbling or shifting. If you notice any instability, you may need to readjust the straps or tighten them further.
Additionally, it is recommended to perform a test drive with the kayak roof rack to assess its stability at varying speeds and driving conditions. Take your vehicle out for a short drive, paying close attention to any vibrations, noises, or movement coming from the roof rack. If you notice any issues, stop the vehicle in a safe location and make the necessary adjustments.
Remember, the security of your kayak and the safety of others on the road should never be compromised. It is crucial to regularly inspect and test the stability of your kayak roof rack, especially before embarking on long journeys or traveling at high speeds.
By following this step-by-step installation guide and thoroughly testing the stability and security of your kayak roof rack, you can enjoy worry-free adventures and confidently transport your kayak to your favorite waterways.
10. Tips for transporting kayaks safely and efficiently
Transporting kayaks safely and efficiently is crucial to ensure a smooth and enjoyable journey. Here are some essential tips to consider when using kayak roof racks on cars without rails:
1. Secure the kayak properly: Before loading your kayak onto the roof rack, make sure it is securely fastened. Use high-quality straps or tie-downs to tightly secure the kayak to the roof rack. It is recommended to use at least two straps, one near the front and one near the back, to prevent any movement during transportation.
2. Protect your kayak: To prevent any scratches or damage, place protective padding or foam blocks between the kayak and the roof rack. This will provide an extra layer of cushioning and help maintain the kayak’s integrity.
3. Distribute the weight evenly: Proper weight distribution is crucial for a safe and balanced ride. Place the kayak centrally on the roof rack, ensuring an equal amount of overhang on both ends. This will help maintain stability and minimize the risk of the kayak shifting during transit.
4. Use bow and stern lines: To provide additional security, use bow and stern lines. These lines attach to the front and rear of the kayak and anchor it to the car’s bumpers or tow hooks. Bow and stern lines help stabilize the kayak and prevent any forward or backward movement.
5. Check for clearance: Before hitting the road, ensure that the kayak does not obstruct your view or interfere with any other vehicle components. Be mindful of the kayak’s height and ensure it does not exceed any height restrictions set by local regulations.
6. Regularly inspect the straps: During your journey, periodically check the straps or tie-downs to ensure they remain tight and secure. Vibrations and wind can cause straps to loosen over time, so it’s essential to re-tighten them if necessary.
7. Drive cautiously: When transporting a kayak, drive with caution and be aware of the increased height and weight of your vehicle. Take turns slowly, avoid sudden maneuvers, and maintain a safe distance from other vehicles. Careful driving will minimize the risk of accidents and protect both your kayak and your car.
By following these tips, you can confidently transport your kayak, knowing that it is securely fastened and protected. Enjoy your adventures on the water while ensuring the safety of both your kayak and those around you.
Installing roof racks can seem like a daunting task, especially if your car doesn’t have built-in rails.
However, by following our guide, you can confidently install kayak roof racks and enjoy your outdoor adventures with ease.