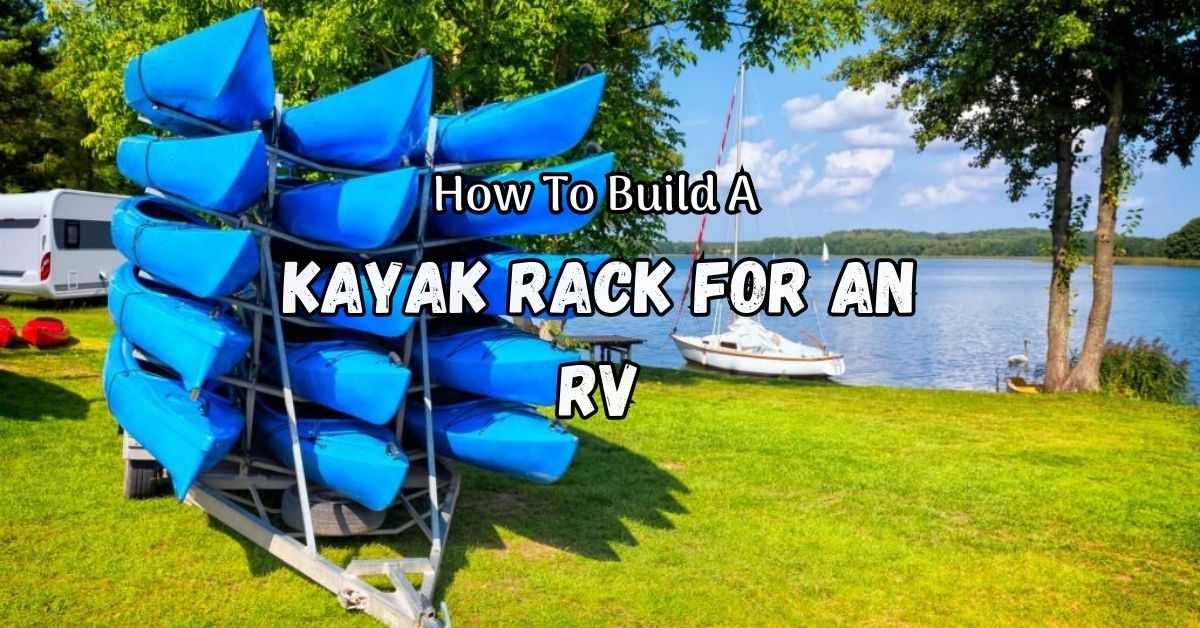
Kayaking is becoming more popular worldwide, and what better way to experience the outdoors than in an RV? Transporting kayaks is difficult, particularly if you have limited room.
RV kayak racks are simpler to make than you think. This complete article will show you How To Build A Kayak Rack For An RV.
From selecting materials and tools to installing the rack on your RV, we can help. When planning a weekend getaway or a cross-country vacation, a kayak rack on your RV will make your trip safer and more fun.
Table of Contents
1. Introduction
RVing may be thrilling and rewarding. RV travel is popular due to its wide road, freedom to explore, and opportunity to enjoy nature. For water sports enthusiasts, an RV kayak rack may enhance your excursions.
Your RV kayak rack’s convenience is a major plus. A kayak rack lets you safely store your kayaks outside your RV instead of trying to fit them inside. This frees up RV space and makes kayaks easy to reach when you want to swim.
The benefits of having a kayak rack for your RV adventures
A kayak rack also improves RV safety. Your kayaks won’t shift or fall over while traveling if you strap them to the rack. This piece of mind lets you enjoy the ride without worrying about kayak damage or safety issues.
Another benefit of a kayak rack is destination flexibility. Your kayaks allow you to arrange RV vacations around lakes, rivers, and other bodies of water with great paddling possibilities.
Whether you’re fishing in placid lakes, paddling in peaceful canals, or exploring, a kayak rack lets you enjoy water activities wherever your RV takes you.
Kayak racks also improve RV utility. It lets you bring bikes or surfboards, expanding your adventurous options. This adaptability enhances your RV experience, letting you create amazing outdoor exploring moments.
Finally, a kayak rack for your RV is a game-changer for water and outdoor aficionados. Its ease, safety, flexibility, and enhanced usefulness make RV travel more enjoyable and free. Stay tuned for our entire guide on creating the ultimate kayak rack for your outdoor activities if you’re ready to up your RV adventures.
2. Determining your RV kayak rack needs: Type and size
Before making your own kayak rack for your RV, you must identify your demands and the correct style and size of rack. This will provide a practical and secure setup for your road kayak travels.
Consider the amount of kayaks you’ll haul. How frequently do you travel alone or with family or friends? It will help you decide how many kayak slots your rack needs.
Next, consider kayak size and weight. Standard-sized or bigger tandem kayaks? Your kayaks’ size and weight will help you pick a rack that can safely hold them.
Select an RV rack that fits. There are roof-mounted, hitch-mounted, and ladder-mounted racks. Take time to investigate and choose the ideal kind for your RV and kayaks. Each has pros and downsides.
Additionally, consider kayak loading and unloading simplicity. Some racks include adjustable cradles or loading assist devices, which may simplify the task, particularly for lone travelers.
Lastly, examine any extra features or needs. Need a rack that folds or stores? Do you need locks or tie-down straps to keep your kayaks secure during travel?
With careful evaluation of your requirements and these considerations, you can confidently pick the proper kayak rack style and size for your RV. This will give you piece of mind and protect your kayaks for your next water trip.
3. Obtaining project supplies and equipment
Gathering all the supplies and tools before creating your RV kayak rack is essential for a successful job.
First, your kayak rack needs a solid foundation. This frame may be metal or wooden, depending on your taste and skill. Your rack’s durability and kayak weight should be considered.
Next, you need crossbars or support bars to secure the kayaks. You may buy them online or at a hardware shop or make yourself from steel or aluminum.
Mounting brackets or clamps are needed to connect the rack to your RV. They should fit your RV’s roof or roof rack system. Make sure the brackets can support your kayaks throughout transit.
You’ll need a measuring tape or ruler to measure your boats and RV roof. A drill with proper bits is needed to make mounting bracket or clamp holes. The rack’s components require screws or bolts to hold together.
A wrench or socket set to tighten and adjust the rack, a level to position it, and a saw or cutting tool to reduce surplus materials are also useful.
Researching Materials
If you’re looking to build a kayak rack for an RV, there are a few important factors to consider. First and foremost is the choice of material for the rack’s construction.
Popular options include wood, metal, and PVC pipe. Each material comes with its own set of pros and cons, so it’s important to assess your specific needs and preferences when making a decision.
Additionally, you’ll want to take into account the weight and size of your kayaks when choosing materials for the rack. It’s essential that the rack be sturdy enough to securely support your kayaks while in transit.
Another crucial consideration is weather resistance. Since the rack will be exposed to various weather conditions during your outdoor adventures, it needs to be able to withstand them without any issues.
By carefully evaluating these factors and making informed choices, you can ensure that your DIY kayak rack meets all of your requirements and provides reliable transportation for your kayaks on your RV trips.
4. Designing and measuring your kayak rack
Building a kayak rack for your RV requires careful design and measurement. A well-designed and calculated kayak rack can secure your kayaks throughout RV trips, offering peace of mind and convenience.
First, decide how many kayaks you want on your rack. This will define the rack’s size and capacity. To verify the rack can support your kayaks, consider their weight and size.
Next, plan your RV rack arrangement and positioning. Space, RV height, and impediments should be considered while installing. Make sure the rack is accessible and doesn’t interfere with other RV equipment or buildings.
Construction of a solid kayak rack requires measurements. Take exact measurements of your kayaks’ width, length, and upright height. This will define the rack arms or cradles’ spacing and placement to secure the kayaks.
The rack’s height should also be considered while driving your RV beneath low bridges or overhanging objects. The rack should not exceed your RV’s width and be legal.
Spending effort designing and measuring your kayak rack can prevent problems and provide a secure and effective storage option for your kayaks during RV trips. Before starting construction, double-check your dimensions and review building codes.
5. Instructions for assembling the kayak rack
Building an RV kayak rack enhances outdoor excursions and makes it easy to carry kayaks. This section provides step-by-step directions for building a kayak rack.
Step 1: Gather materials
Before making your kayak rack, gather all the items. So you need:
1. Robust PVC pipes (length depends on kayaks)
2. Elbows, T-joints, and end caps in PVC
3. Zip ties or screws
4. Tape measure
5. A saw or PVC pipe cutter
6. Use proper drill bits
7. Sandpaper or file
Step 2: Measure and cut PVC pipes
Measure your RV’s roof width to estimate kayak rack width. Cut the PVC pipes to these specifications using a saw or cutter. Make sure the pipes match your boats’ length.
Step 3: Build the foundation.
Connect cut PVC pipes with elbows and T-joints on a level surface. This is your kayak rack’s frame. Use a measuring tape to position and space pipes.
Step 4: Joint security
After assembling the foundation construction, screw or zip tie the joints. This will stabilize and avoid pipe breakage during shipping. Joints should be tight and secure to guarantee kayak safety.
Step 5: Attach end caps
End covers on PVC pipes enhance the aesthetic and protect kayaks from sharp edges. Smooth rough pipe edges using sandpaper or a file.
Step 6: RV rack mounting
Choose the best RV roof mount for the kayak rack. Mark placements and drill mounting holes. Screw the rack to the roof or use additional RV model-specific mounting gear.
Step 7: Test and modify
To guarantee optimum fit and security, carefully set your boats on the kayak rack after installation. Adjust the rack’s location or attachments to balance and stabilize the kayaks.
Building a kayak rack for your RV takes work, but the convenience and flexibility it gives you for outdoor trips is worth it. These step-by-step instructions will help you build a strong kayak rack that will securely carry your kayaks on RV trips.
6. Rack safety and stability tips
Safety and stability are essential when creating an RV kayak rack. After all, you want your kayaks to be safe on your adventures. For kayak rack safety and stability, remember these tips:
• Choose high-quality, sturdy materials that can sustain kayak weight. Consider employing robust metal or wooden beams for stability.
• Make sure the kayaks’ weight is appropriately spread throughout the rack. This will avoid RV imbalances and strain when driving. Ensure equal weight distribution on both rack sides by positioning the kayaks.
• Secure the rack to your RV using strong fastening options. This might be heavy-duty straps, bolts, or kayak rack brackets. Before driving, check the fastenings for tightness to prevent accidents.
• Depending on the size and weight of your kayaks, your rack design may require extra support. This may need adding crossbars, bracing, or reinforcements to stabilize and prevent transit movement.
• Examine and maintain the rack: To keep your kayak rack in top shape, examine it often. Check for damage, loose fastenings, and structural flaws. To keep your rack secure and stable, repair or replace it immediately.
Following these instructions, you may build a kayak rack for your RV that secures your kayaks and assures a safe trip. Any DIY project, including creating a kayak rack, should prioritize safety.
7. Different kayak rack mounting techniques and best practices
To secure your kayak to your RV rack safely and easily, there are various options and recommended practices. The last thing you want is for your kayak to come loose while driving, damaging your car or endangering other drivers.
Kayak straps or tie-downs are frequent. The straps are robust and meant to secure kayaks and other heavy goods to a rack or roof. Choose robust, durable straps with a high weight capability and trustworthy buckles or fasteners. For further security, use additional straps.
Place the kayak on the rack before fastening it. Center and balance it to equally distribute weight. This will avoid transit wobbling. To minimize collisions and damage, space and secure your kayaks separately.
Start strapping the kayak by looping it through the rack or roof rails and then around it. Cross the straps over the kayak in a “X” for stability. Tighten the straps but not too much to harm the kayak or rack.
Use kayak-specific racks or carriers like J-hooks or saddles. These innovative fittings secure the kayak without straps. They fit snugly and may be modified to match various kayak sizes and shapes. Before hitting the road, double-check and secure the kayak.
Make sure your kayak is secure before you leave, regardless of the technique. Pull hard to assess stability and prevent excessive movement. Long travels should also be checked for loose straps or attachments owing to vibrations or other circumstances.
By following these best practices and picking the correct kayak rack fastening technique, you can rest easy knowing your kayak is safe during RV travels.
8. Adding features and accessories to improve functionality
Building a kayak rack for your RV lets you secure storage and add features and extras. Adjustable straps or bungee cords are common. They may tie kayaks firmly, limiting movement or damage during transit. Adjustable straps suit all kayak sizes and shapes for a secure fit.
Padding or foam cushions are another essential element. Place them on the kayak rack to cushion and protect your boats. If you have a lengthy trip or frequent rough roads, this is crucial. The cushioning absorbs shocks and vibrations, protecting your kayaks.
Add a locking mechanism to your kayak rack design. This will prevent theft and provide you peace of mind while leaving your RV alone. Choose a combination lock or keyed lock that meets your requirements and preferences.
Finally, add hooks or storage to your kayak rack. These can hold paddles, life jackets, and other kayaking gear. By keeping everything in one location, you’ll save time and be ready for your next trip.
When adding features and extras to your kayak rack, keep your RV stable and balanced. Ensure your vehicle’s structural integrity and weight distribution are not compromised by alterations.
You can construct a kayak rack that securely supports your kayaks and improves your RV paddling experience by adding these features and extras.
9. Tips for kayak rack maintenance
Maintaining your kayak rack is crucial to its durability and effectiveness throughout RV excursions. Keep your kayak rack in good condition by following these guidelines for easy kayak transport.
1. Clean your kayak rack: Remove filth, debris, and salt with gentle soap and water. Keep straps, buckles, and moving components clean and corrosion-free.
2. Check for Damage: Before every voyage, check your kayak rack for damage. Check for cracks, dents, or loose pieces that might affect stability. Addressing concerns immediately prevents travel accidents and damage.
3. Lubricate your kayak rack’s moving components to prevent corrosion and maintain smooth operation. Lubricate hinges, bolts, and other moving parts with silicone. This will keep the rack working and increase its lifetime.
4. Storage: Keep your kayak rack dry, covered, and out of direct sunlight and harsh temperatures while not in use. This prevents weather-related wear.
5. Periodically check your kayak rack: for wear and tear, particularly straps and connection points. Replace broken or worn-out parts immediately to preserve the rack’s integrity and avoid road accidents.
6. Double-check: Keep the rack steady and tighten all straps. This step is critical to avoiding rack movement during transport.
These maintenance and care suggestions can keep your kayak rack in great shape throughout your RV excursions. With a well-maintained rack, you may enjoy kayaking and enjoying the outdoors without worrying about transportation.
10. Conclusion: Custom kayak racks for RV vacations
Finally, designing a bespoke kayak rack for your RV is a game-changer for outdoor experiences. It makes transporting kayaks safe and easy, and it offers up new rivers and the joy of paddling in new places.
This article will help you build a kayak rack that fits your RV and requirements. Whether you’re traveling alone or with friends and family, a separate kayak storage compartment keeps your kayaks safe and frees up RV space.
The excitement and satisfaction of making your own kayak rack are immeasurable. You’ll have a useful RV accessory plus the satisfaction of making it yourself. It lets you show off your DIY abilities and improve your outdoor lifestyle.
Do not hesitate to start this amazing project. You can design a bespoke kayak rack to enhance your RV excursions with the correct tools, supplies, and patience. Road trip, new waterways, and wonderful experiences as you paddle through magnificent scenery.
Happy kayaking!