
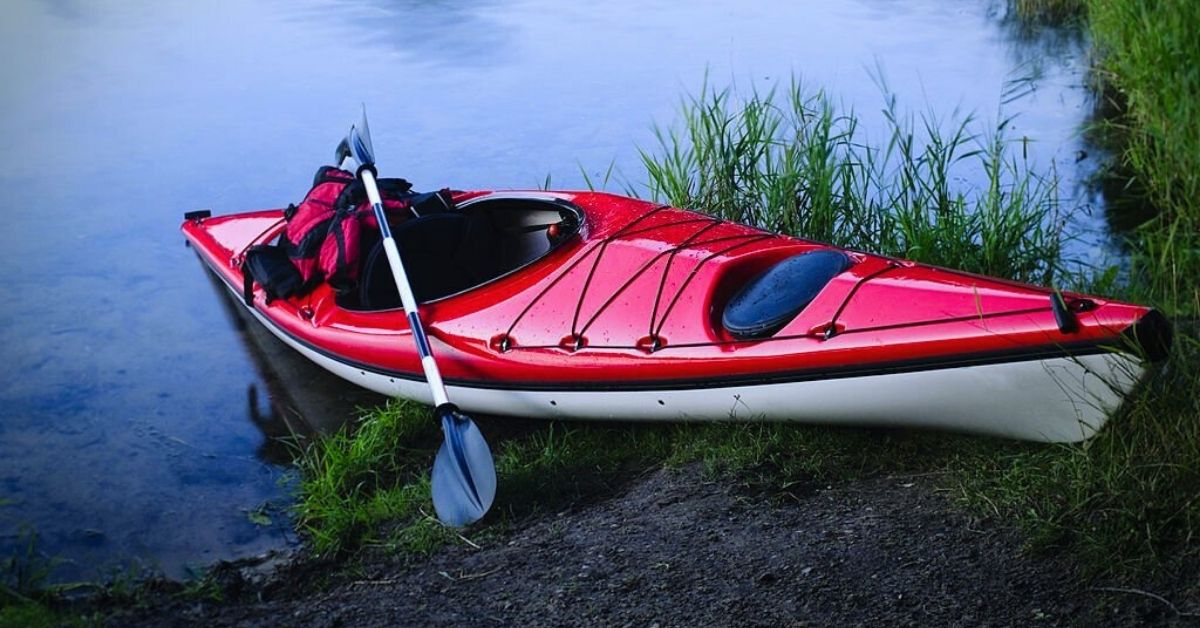
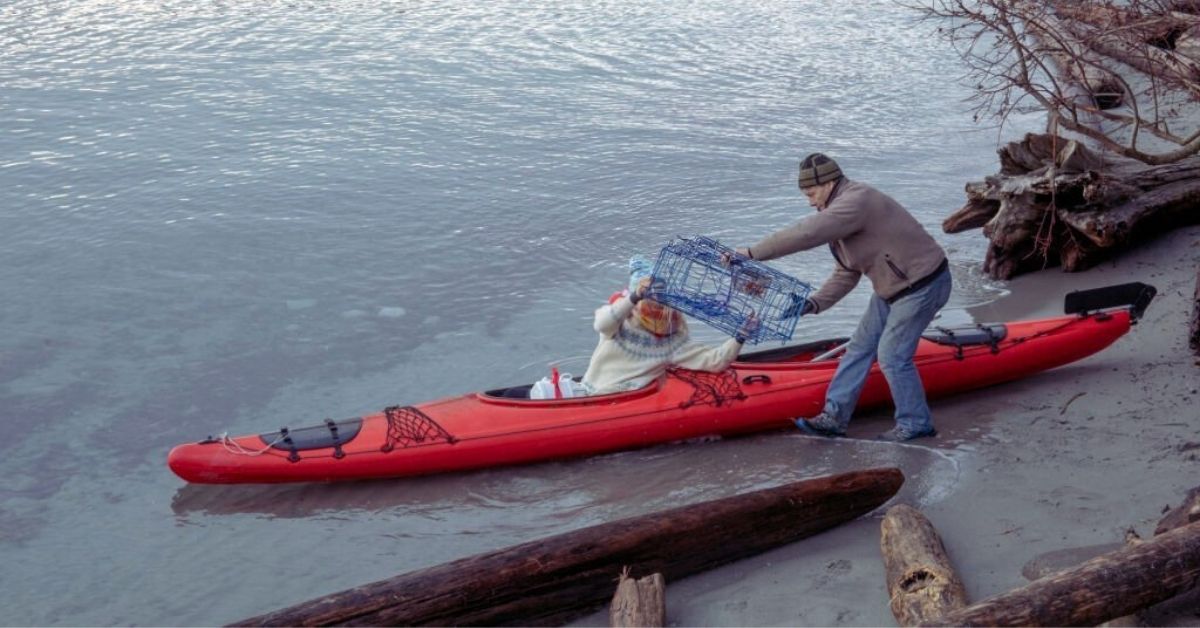
Kayaking is a terrific opportunity to see nature from a new angle. Launching a kayak might be perilous if you’re on the wrong surface.
Building your own kayak launch is a great option. It’s fun, cheap, and a great DIY project that will make you proud.
Step-by-step instructions for building A Homemade Kayak Launch to your specifications are on this page. No aspect will be overlooked, from site to supplies and equipment. Grab your tools and let’s make the best waterside adventure tool!
Table of Contents
1. Introduction
Any kayaker or outdoor lover may enjoy building their own kayak launch. Building your own kayak launch offers personalization, cost savings, and a feeling of achievement.
One of the primary benefits of making your own kayak launch is the flexibility to customize it. Building your own lets you design and build a launch that meets your needs, whether you want a broad launch for easy access or a tiny one for regular visits.
Kayak launch?
Building your own kayak launch might be cheaper than buying one. Commercial kayak launches may be cheaper by using widely accessible materials like wood or PVC pipes.
This is ideal for individuals who enjoy do-it-yourself projects and those who are conscious of their budget. It allows you to save money without compromising on quality.
Create your own kayak launch for a rewarding and fulfilling experience. Not only does it allow you to exercise your creativity, problem-solving skills, and talents, but it also provides you with a unique and practical solution. The joy of constructing your own kayak launch enriches your waterfront adventures.
Whether you’re a beginner or an expert, building your own kayak launch can be a fulfilling project. Not only does it allow for customization and cost savings, but it also enhances your overall kayaking experience.
In the upcoming sections of this book, we will guide you through the process of constructing a kayak launch, providing you with valuable knowledge and inspiring ideas.
2. Planning your DIY kayak launch
Planning your DIY kayak launch is crucial to a fun and successful waterside trip. Before starting building, examine your requirements, location, and supplies.
Assess your needs first. Consider your kayak and any other boat that needs launch access. Consider your kayak’s size and weight and make sure the launch fits comfortably. Consider adding storage racks or chairs.
Selecting the Launch Site
Assess your location. Check the water for easy access and adequate depth to launch your kayak securely. Consider tides, currents, and local building restrictions and permissions. Consider the ecology and make sure your DIY project supports conservation and preservation.
After determining your demands and area, choose kayak launch materials. Choose weatherproof materials that can tolerate water and weather. For durability, use pressure-treated wood or composite decking for the primary framework. Stainless steel or galvanized hardware prevents corrosion and stabilizes your launch.
Create a precise DIY project design or blueprint, noting exact dimensions and considering any local problems or changes. This book can help you avoid expensive errors and setbacks during building.
Building your own kayak launch should always prioritize safety. Make sure the structure can sustain you and your kayak. To avoid accidents, use non-slip surfaces and follow building rules.
By preparing your DIY kayak launch project, you’ll be ready for waterside excursions with confidence.
3. Locating relevant equipment and supplies
Before creating a kayak launch, collect all the equipment and supplies. This phase is essential for a smooth building process.
Hand tools such a tape measure, level, drill, circular saw, hammer, and screwdrivers are needed first. These tools will help you measure, cut, and assemble your kayak launch.
Next, acquire building supplies. Depending on your kayak launch’s design and specifications, pressure-treated lumber for the frame and supports, marine-grade plywood for the decking, stainless steel or galvanized screws for durability, and concrete for footings or anchor points are common materials.
PVC pipes for handrails, metal brackets for stability, and safety gear like gloves and goggles may be needed in addition to these main elements.
Before using materials for outdoor purposes, it’s important to ensure their durability against elements like water, sunlight, and other environmental factors. Using high-quality materials will not only enhance the safety of your waterside adventure setup and kayak launch but also extend their lifespan.
Once you have gathered all the necessary equipment and supplies, you will be ready to embark on your exciting DIY project: building.
To ensure a smooth process, it is important to double-check that you have obtained all the required materials and that they are easily accessible before starting construction. This will help minimize any potential delays or interruptions
4. Choose the correct kayak launch spot
Building your own kayak launch requires the perfect site for a smooth and comfortable waterside excursion. The location of your kayak launch and landing will affect its safety and convenience.
Consider location accessibility first. Find a location with easy road access or parking. This makes transporting your kayak and gear to the launch place easy. For easy kayak launch and landing, make sure the area has acceptable entrance and departure points to the water, ideally with a moderate slope or gradual inclination.
Now consider the water conditions at the selected site. If you’re a novice or like a more relaxing paddle, choose a tranquil place. Avoid dangerous places with strong currents, big waves, or excessive boat traffic. To assess the feasibility of a location, you can rely on various factors such as weather patterns, tidal charts, or seek advice from experienced kayakers.
In addition, take a moment to assess the surroundings and amenities. Seek out a kayaking location with breathtaking scenery, peacefulness, and potential attractions nearby. Also, be sure to check for restroom facilities, picnic areas, or local restaurants where you can enjoy a meal after your paddling adventure.
Finally, check the location’s kayaking restrictions and permissions. Launching boats, restricted locations, and licenses may be required in certain regions. To prevent legal complications and comply, read these rules.
You may start your ideal waterside journey by carefully choosing the best kayak launch spot. Prepare for amazing kayaking trips by prioritizing accessibility, water conditions, environment, and permissions.
5. Kayak launch design, safety and factors
There are various safety factors to consider while creating your own kayak launch. Building a well-designed and safe launch can improve your waterside excursions and protect you and others.
Design
First, decide where to launch your kayak. Choose a tranquil, secluded place with good water access. The water depth should be suitable for kayak launching and landing without obstacles or risks.
Consider the launch’s building materials. Choose treated timber or composite decking that can endure water and weather. Make sure the materials can sustain you and your kayak.
The launch must have a slip-resistant surface to avoid mishaps from sliding or losing balance. Rubber mats or non-slip coatings may offer traction and stability.
Safety
Launch sides should have handrails or grab bars for safety. These can assist you balance while entering or departing your kayak, particularly at high tide or in turbulent water.
You may also want a modest slope or ramp for your kayak launch. This will make kayak launch and retrieval simpler, especially for those with limited upper body strength or mobility.
Finally, remember signs and illumination. Sign the launch area with its purpose and restrictions. Install appropriate illumination for low-light vision to use the launch safely at any time.
These design components and safety considerations may help you build a kayak launch that enhances your waterside excursions while protecting yourself and others.
6. Step-by-step construction guide: foundation and support structure
Building your own kayak launch foundation and support structure is an exciting step in building the ultimate waterside fun place. This section will walk you through the building process to build a sturdy, long-lasting structure.
• Start by choosing a beachfront site with convenient water access and kayak launch. Water depth, coastline stability, and impediments should be considered.
• Remove grass, rocks, and rubbish from the specified place. Level the ground for a solid kayak launch.
• Mark your kayak launch with a tape measure and stakes. Consider kayak length and breadth for comfort.
• Use a shovel or excavator to build foundation trenches. The trench depth and breadth depend on the launch size. Recommended depth and breadth are 12 inches and 24 inches, respectively.
• Install treated wooden or metal support posts in trenches. Securely anchor and level them. Fill trenches around posts with concrete mix for stability.
• Build the kayak launch frame using strong timber. Start with the outside perimeter, matching indicated measurements. Cross beams give strength and support.
• Attach weather-resistant decking to the frame for a smooth, durable kayak launch and landing platform. Use water-, sun-, and other outdoor-resistant materials.
• Consider installing railings or safety obstacles to improve kayak launch use and safety. These might be metal or robust wood and should be firmly fastened to the building.
• After construction, thoroughly evaluate your kayak launch’s stability. Walk around the structure to ensure stability. Make any required modifications or reinforcements.
Building the foundation and support structure for your kayak launch may take time, but it will open up infinite waterside activities. You can securely launch and enjoy your kayaks with a solid and well-designed construction, delivering unique water experiences.
7. Adding ramps and launch platform
Adding the launching platform and ramps to your DIY kayak launch ensures a safe and smooth entrance. These components offer stability and easy access, making kayaking and waterside experiences easy.
First, the launching platform. Position your kayak in this center region before entering the water. It should be broad enough for your kayak and comfortable to navigate. Use treated timber or marine-grade plywood to build the platform for durability and water resistance.
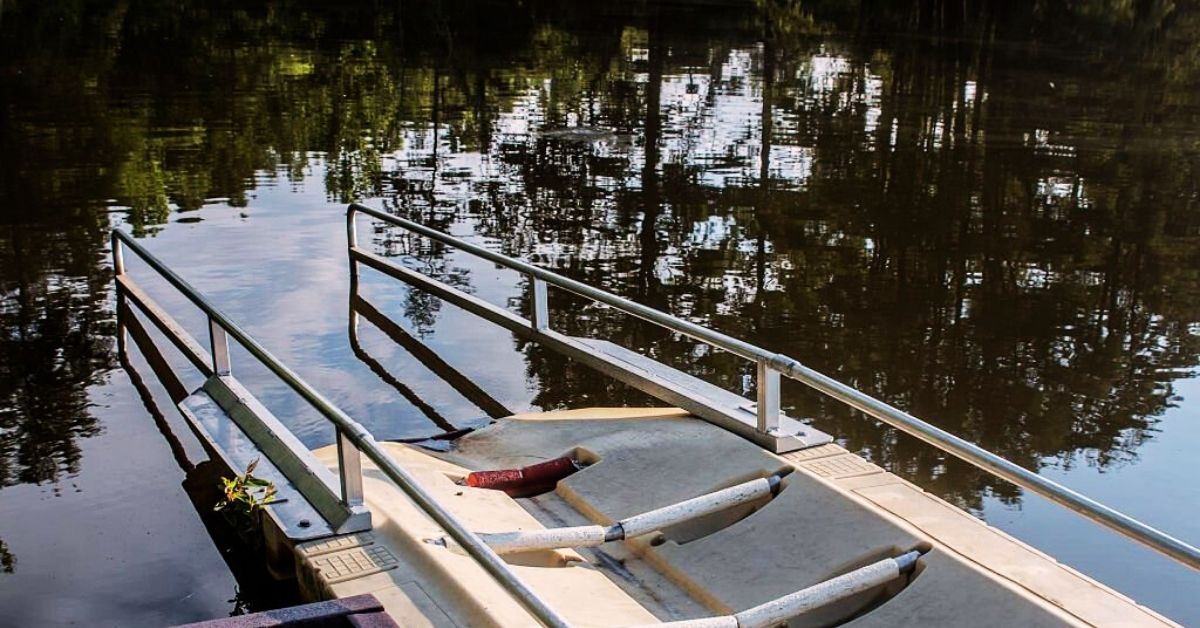
The ramps are next. From the launching pad to the water, there are sloped parts. A gentle drop into the water allows for a smooth and controlled launch with the ramps.
When building ramps, consider the slope and angle to guarantee a comfortable drop that won’t topple or damage your kayak. Rubber or textured paint on the ramp surface improves traction and prevents accidents.
Layout and measure the launching platform and ramps before building. Secure components using saws, drills, and screws. Make sure all connections are secure and the structure is sturdy before continuing.
After installing the launching platform and ramps, check for sharp edges or protruding anything that might injure. Adding handrails or support bars for safety and convenience of use is particularly important if you plan to launch heavier kayaks or have mobility issues.
To improve your kayaking experience, the launching platform and ramps provide a simple and secure access point. Take the time to build and install these components to create a dependable and efficient DIY kayak launch for your waterside excursions.
8. Installing railings and safety measures
When designing a kayak launch, safety is paramount. Handrails and other safety precautions are essential for your and your fellow explorers’ safety and enjoyment.
Handrails help you get in and out of your kayak. They are useful for those with restricted mobility or who require additional aid. Install railings made of stainless steel or treated wood to resist water and weather.
Additional safety features include launch platform non-slip surfaces and railings. These surfaces reduce slips and falls, particularly on wet or algae-covered launches. Rubber mats and textured coatings may be added to the launch surface to prevent slippage.
Safety rules to remember
Building your own kayak launch requires safety and compliance with rules. Construction of a kayak launch may be fun, but you must be cautious and responsible while using the water.
First, learn about local kayak launch building and usage laws. Specific locations may have launch size, materials, positioning, and permission or approval requirements. For a legal and seamless experience, you must get permits and follow these rules.
Safety should also be considered while planning and building your kayak launch. The framework should be stable and durable to sustain the kayak and its user. Use high-quality exterior materials that can tolerate water, sun, and other environmental elements.
Add non-slip surfaces to the launch to avoid slips. Add railings or guardrails for stability and to avoid water falls. Clear signage outlining kayak launch dangers, regulations, and procedures is also recommended.
Always emphasize personal safety while utilizing the kayak launch. Wear a life jacket and have whistles and signaling devices on hand. Learn kayaking and rescue tactics to face unexpected scenarios.
Kayak launch maintenance and inspection are essential for long-term safety. Check for wear and tear, broken parts, and loose fittings and fix them immediately to avoid accidents or structural problems.
Following these safety guidelines will allow you to enjoy your DIY-built kayak launch with confidence, knowing that you prioritized safety and responsible waterside experiences.
9. Care for your DIY kayak launch
After building your kayak launch, prioritize its upkeep to maintain its durability and operation. These easy techniques will maintain your DIY kayak launch in peak shape for all your waterside excursions.
1. Regular cleaning: Like any outside building, your kayak launch will collect dirt, trash, and algae. Regularly clean the surface with mild soap and water. Avoid strong chemicals that might harm materials or contaminate water.
2. Look for damage: Check your kayak launch frequently for wear and tear. Check for cracks, loose screws, weather damage, and hard usage. Repair or replace broken components immediately to avoid further degradation.
3. Protect your kayak launch materials from UV rays: Prolonged sun exposure may fade and deteriorate them. Protect the surface with a sealer or UV-resistant finish to preserve its color and integrity.
4. Maintain vegetation: If your kayak launch is near vegetation, trim and remove any overhanging branches or plants that may block it. This makes entry simple and protects your kayak and launch.
5. Secure loose components: Your kayak launch may become loose or unstable over time. Make sure nuts, screws, and connections are tight. Maintaining stability will avoid accidents and injuries.
Store your kayak launch correctly during off-seasons to avoid damage if you live in a severe winter climate or won’t use it for a while. This may require dismantling and storing it in a dry place or covering it with a weatherproof tarp.
Follow these maintenance and care suggestions to enjoy your DIY kayak launch for years to come, assuring safe and fun waterside excursions on your next kayak trip.
10. Conclusion
In conclusion, creating your own kayak launch may be fun and improve your waterside excursions. It makes kayak launching and docking easy and safe, plus it personalizes your waterfront experience.
Following this DIY method, you created a kayak launch that meets your requirements. From choosing materials to measuring and cutting, building the frame to adding final touches, you used your talents and imagination.
Reap the results of your labor. Imagine standing on your new kayak launch, surrounded by the serene sea. Knowing you created this building with your own hands will make each launch and return satisfying.
Imagine smoothly sliding your kayak into the water for your next expedition. No more uneven or slippery conditions or kayak damage during launches or landings. Your DIY kayak launch will provide a robust foundation for your waterside adventures.
Gather your gear, paddle, and prepare to explore the rivers like never before. DIY kayak launches are ready to help you have the best waterside activities, whether you’re going alone or with a group.
Enjoy the independence, peace, and exhilaration of kayaking knowing you designed a launching place that improves your experience. Explore nature, relax in the water, and make lasting memories.
DIY kayak launches provide unlimited options. Explore and take on your ultimate waterside experiences with confidence and pride.