Table of Contents
How to Paint a Kayak?
So you got your kayak showing up its age, and want to paint it. Perhaps, you had enough of your kayak’s current color, or want to mask that ugly scratch or dent in the hull that you just repaired recently.
Despite the reason for painting your kayak, you just want to paint it, and have troubles where to start from?
No worries! We’re here for you how to paint a kayak. Compiling up the most tested and reliable methods, we’ve come up with an easy-to-understand guide for your next DIY project.
Besides the guide, we’ve also answered some of your riddles on painting your kayak. So stay with us till the very end, and you’ll clear all those riddles of how-to and why to paint your kayak!
What type of paint to use on a plastic kayak?
Whether you’re looking for paint for your house or kayak, the key to a successful paint job is selecting the paint of the right quality. Since we are painting our kayak here, we have to choose the best water-resistant and clinging paint.
It doesn’t matter if you have a wooden, plastic, or fabric kayak, as long as the paint is water-resistant and clinging, it should do well.
And huh! One thing more,
Once you’ve painted your kayak, make sure to cover it with a clear coat -Krylon matte finish is a highly suggested one- to protect the color.
What type of paint to use on a fiberglass kayak?

If you have a fiberglass kayak, then acrylic paint may be the best choice for you. It sticks well on a fiberglass surface, and thus, eliminates the hard painting process.
Acrylic paints don’t crack, nor blister easily. It’s also quite easy to clean. Moreover, it contains fewer chemicals making it ecologically friendly.
Why consider painting your kayak?
It’s a good question. Why consider painting your kayak? Doesn’t the original paint perform well? Yes! It is best suited for your kayak, but once you go on a journey with your kayak, your kayak might end up catching lots of scratches, and the original paint might wear out.
And if you leave those scratches unchecked, they might end up in potential damage.
Moreover, if you’re a fan of angling (fishing), but have some budget issues buying a fishing kayak, you can transform your recreational kayak into one. Recreational kayaks are often cheaper than fishing ones.
Fishing kayaks have camouflage graphics, while recreational kayaks come in bright colors. Painting your recreational kayak with camouflage paint is all that you need to turn it into a fishing monster!
Direct exposure to sunlight can also cause your kayak’s original color to fade away. Giving it a fresh paint mixed up with UV resistant spray will restore your kayak’s original color, and aesthetics as well 🙂
There are two distinct ways of painting your kayak.
Using a Paint Brush
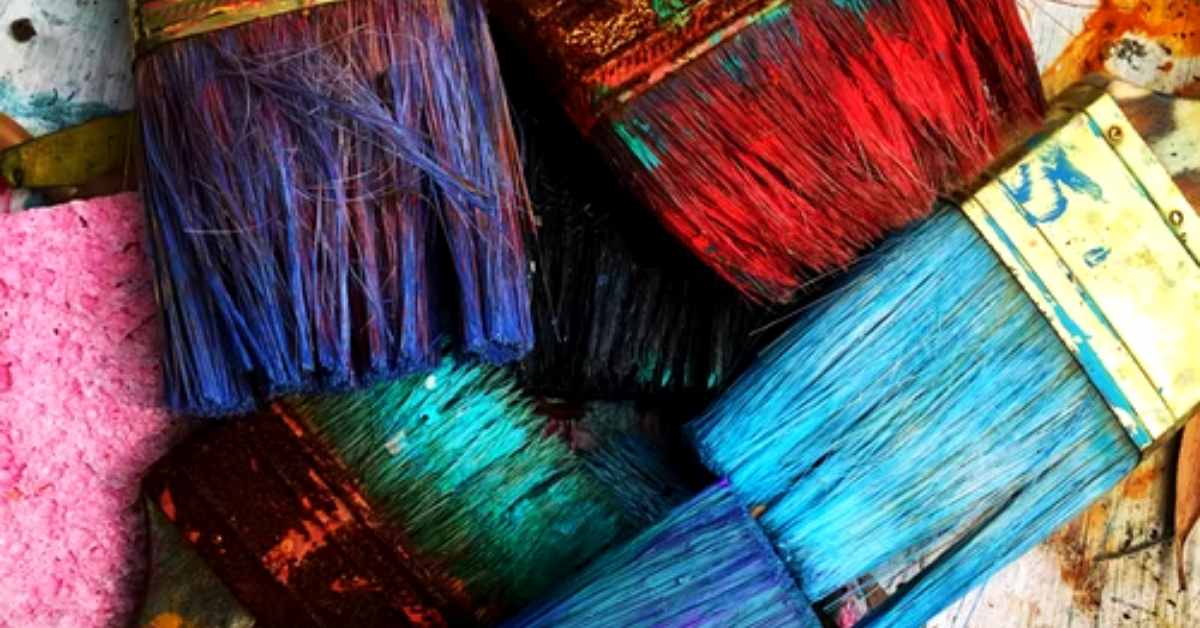
The first one is using a paintbrush. But it’s quite time-consuming. And if you’re a beginner, you might not want to give it a try on your kayak, especially to a larger kayak.
However, using a paintbrush will give a decent texture to your kayak. And yes, a paintbrush can be a better opinion if you want to give your kayak a detailed texture.
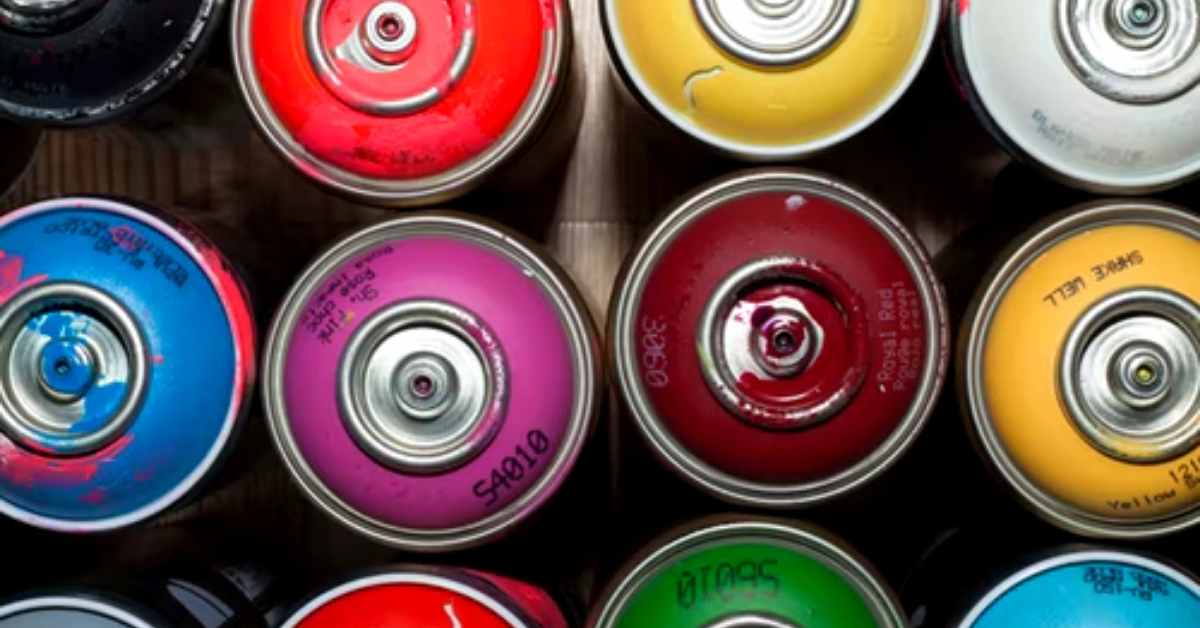
Using Spray Paint
The second method of painting a kayak is by using spray paint. With spray paint, you can paint your entire kayak quickly. Plus, the paint will be evenly distributed on the kayak.
Furthermore, spraypaint can be a better option, even if you are a beginner painter. But, spraypaint has some downsides. Among them, the most important one is that it wastes much paint as most of it gets caught up in the air.
Kit list
Before you start painting your kayak, make sure that you have the following things!
● Dishwashing soap, water, and some clean clothes- First of all, you have to give your kayak a nice bath. If some of the dirt remains on your kayak, and you paint over it, the paint will wear out much quicker than you expect!
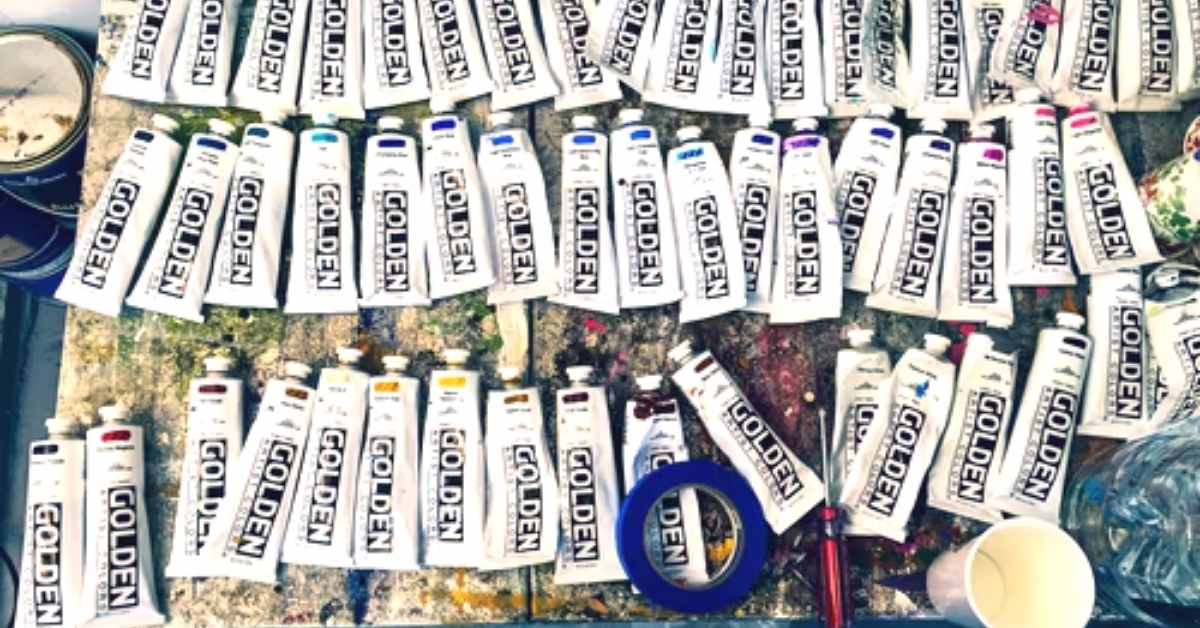
● Marine-grade paint- Whether you opt for a paintbrush, or spray paint, make sure that the paint is marine-grade (best suited for watery environments)
● Paintbrushes, or paint rollers (spray gun or spray can)
● Painting mask and a pair of protective gloves- Safety’s first. Protect yourself with a painting mask and gloves to avoid any damage from the paint to your body.
● Sandpapers- Before you start painting your kayak, collect a variety of sandpapers with a grit of between 100 and 200.
● Acetone- In painting, acetone is used to remove any hardened paint. In fact, it is also the best choice for cleaning paintbrushes
● Clear finishing spray paint (or marine wax)- As said before, after painting your kayak, protect the paint with a layer of clear finishing spray. This will increase the lifetime of the paint.
How to Paint a Kayak: Step by Step Guide for Beginners
Once you have all the things you need to paint a kayak, the next step is to paint your kayak. Follow our 7-step guide for an easy understanding!
Step #1: Prepare the Area
Start by preparing the area you want to put your kayak on while painting it. Make sure to find yourself a well-ventilated, debris and dust-free area, in case you don’t want airborne particles to ruin all your hard work.
If choose an enclosed place, make sure the windows are opened and the ceiling fan is running. This will help the paint to dry up quickly, speeding up the process.
However, if you’re going for spray paints, then even a little wind will cause you a lot of trouble since the wind disturbs the spray. So better try this on a nice hot day, when the wind is still.
Step #2: Remove the components
Secondly, you need to have a clear base to paint on, just like artists who paint on a clear canvas. remove all the removable components, such as seats, rod holders, foot braces skegs, screws, and other mounting hardware. Painting the kayak afterward will give it nice paint, just like if it is original!
Step #3: Sanding it down and cleaning it
Next, you have to give your kayak a nice bath, with a mixture of hot water and dishwashing soap. Doing so will remove all the dust and debris remaining on the kayak. Afterward, leave it dry.
Now will also be a good time to fix any dents or uneven surfaces on the hull. Inspect your kayak utterly. You’ll also want to smooth the whole surface of your kayak with medium grit sandpaper.
If you want to paint only a specific surface of the kayak, then you should sand only the specific area. Otherwise, sand down the entire surface.
Step #4: Apply some Acetone
Appling some acetone to the kayak will also help you do the painting job done well You can do this by applying the acetone to a cloth so that it’s damp, and then wipe the kayak. Acetone will clear down any oil residues which may cause the paint to not adhere well.
Step #5: Paint the Kayak
Now it’s time to get the actual job done. Mask down any areas of the kayak you don’t want to paint with a masking time. And don’t forget to wear your protective gloves and painting mask!
Paint the entire surface of your kayak, and remember to be steady and persistent. Paining is an easy job, but it requires time and effort. You might also need to add a couple of layers to get the shade you’re hoping for.
If you have an artistic nature and want to give your kayak some attractive graphics, then you can do it with a simple paintbrush after you’re done with the base. Stencils can also come in handy!
If you want to give your kayak a camouflage paint, you can do it by using a sponge dipped in different shades from the base color. This will help you add a simple, but effective camouflage paint.
After you’re done with the painting process, you might want to give the kayak a 24 hours rest before moving on to the next process. This will assure you that the paint has utterly dried, and it won’t wear off during the next process.
Step #6: Giving it a clear coat
Apply a clear coat (Krylon 1311 will do the job) to your kayak, after the paint has completely dried up. This will be the final layer of the paint you may want to give to your kayak.
After this step, you’ll need to leave your kayak again for a little time so that the coat can dry up.
Step #7: Clean and wax your kayak
Once you’re done reinstalling all the components you removed before, you can give your kayak a bath once more. Though it’s not necessary, doing so will enhance the aesthetics of your kayak, and will give you internal satisfaction.
You’re now free to re-apply a decal if you wish.
The following step is optional, but we would suggest you apply a marine wax as the final touch.
Marine wax will prevent the recently applied paint from getting any scratches. Moreover, it will give the hull of the kayak a nice shine!
Conclusion
If you follow our 7-step guide on painting a kayak, you’ll have your painting job done as simple as an apple pie. And don’t forget to leave some reviews in the comment section below!