Table of Contents
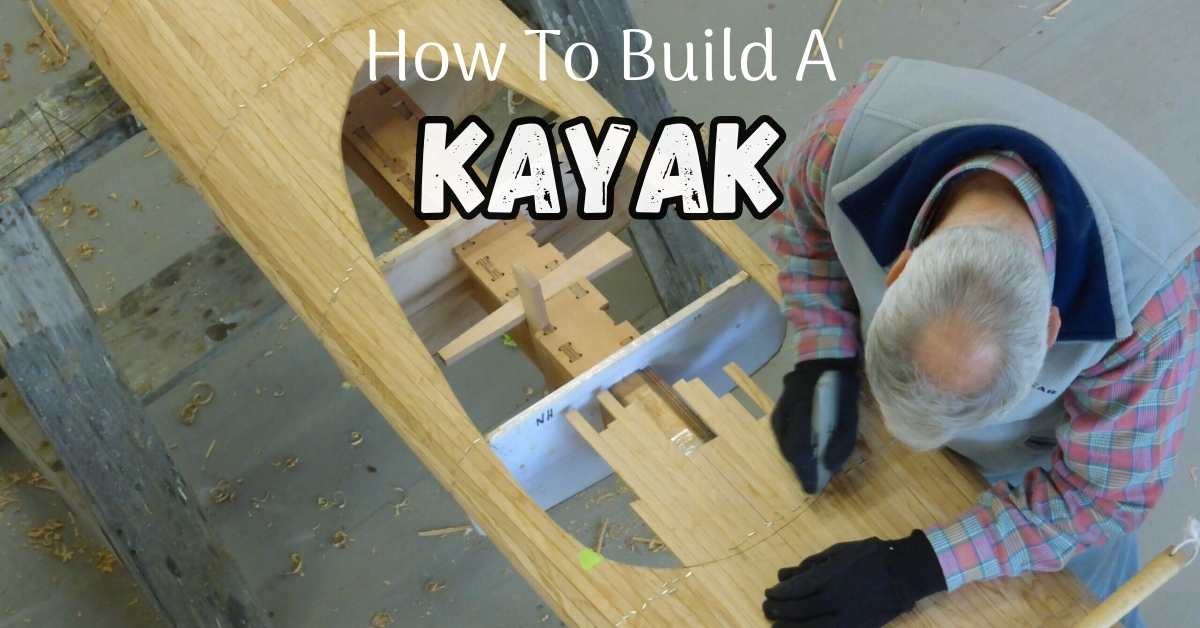
Introduction to Kayak Building
This article aims to introduce the art of kayak building, focusing on an accessible and straightforward method.
In the guide will offer detailed instructions on how to Build A Kayak. Specifically designed for individuals who have an interest in building their own kayaks but lack technical expertise.
In the guide will provide a step-by-step approach that prioritizes simplicity and clear explanations. The ultimate goal is to inspire more people to explore the art of kayak building.
11 Easy Method To Build A Kayak
This guide provides a user-friendly approach to building a kayak, suitable for both beginners and experienced builders.
It is a valuable resource for anyone interested in constructing their own kayak. Here are 11 simple techniques for building your kayak:
1. Gathering Materials and Tools
Gathering Materials and Tools for Building a Kayak (Easy Method To Build A Kayak 2023 Guide):
– Plywood: Select marine-grade plywood that is suitable for kayak construction. Measure and purchase enough plywood based on the dimensions of the kayak you plan to build.
– Epoxy Resin: Choose a high-quality epoxy resin suitable for marine applications. This will be used for bonding the plywood panels together and providing a protective coating for the kayak.
– Fiberglass Cloth: Purchase fiberglass cloth to reinforce the kayak’s hull. This will add strength and durability to the finished kayak.
– Foam Core: Obtain foam sheets or blocks to be used as core material for the kayak’s deck. This will provide buoyancy and insulation.
– Fiberglass Tape: Acquire fiberglass tape to reinforce critical areas of the kayak, such as the seams and joints.
– Clamps: Gather a variety of clamps to hold the plywood panels in place during construction. This will ensure a secure bond and proper alignment.
– Jigsaw or Circular Saw: Have a jigsaw or circular saw on hand to cut the plywood sheets and foam core to the desired shapes and sizes.
– Orbital Sander: Use an orbital sander to smooth and shape the kayak’s surfaces and edges.
– Brushes and Rollers: Prepare brushes and rollers for applying epoxy resin, as well as for coating the fiberglass cloth onto the kayak.
– Safety Gear: Don’t forget to prioritize safety – have safety goggles, gloves, a dust mask, and ear protection to safeguard yourself during the construction process.
– Measuring Tools: Use a tape measure, ruler, and marking tools to accurately measure and mark the dimensions and cuts on the plywood and foam core.
To begin your kayak building journey, it’s essential to gather the necessary materials and tools. Make sure to select high-quality materials for a sturdy and dependable kayak that will bring you endless enjoyment on the water.
2. Cutting and Shaping the Frame
Creating a kayak involves an essential step of cutting and shaping the frame. This process requires precision to achieve stability and durability for the kayak.

To ensure desirable outcomes, it is recommended to use top-notch materials and tools. Careful measurements and marking should be done before cutting the frame to prevent any mistakes.
The shaping phase demands attention to detail and patience to attain the desired curvature. By following these steps diligently, you can construct a high-quality kayak that will deliver a satisfying and enjoyable experience.
3. Joining Techniques for Durability
Building a kayak requires the correct connecting methods to ensure durability. The simplest and most successful way is epoxy resin and fiberglass cloth. This method includes applying epoxy resin to the surfaces to be bonded and covering it with fiberglass cloth.
The fiberglass fabric is drenched with extra epoxy resin to strengthen the binding. This method gives structural strength, water resistance, and impact resistance. Stitch and glue, which uses wire or cable connections to link kayak panels, is another common method.
After the panels are properly fastened, epoxy glue reinforces the connections. This approach is popular among DIY kayak builders because of its simplicity and adaptability. To build a long-lasting kayak, prepare and follow the directions for your joining method.
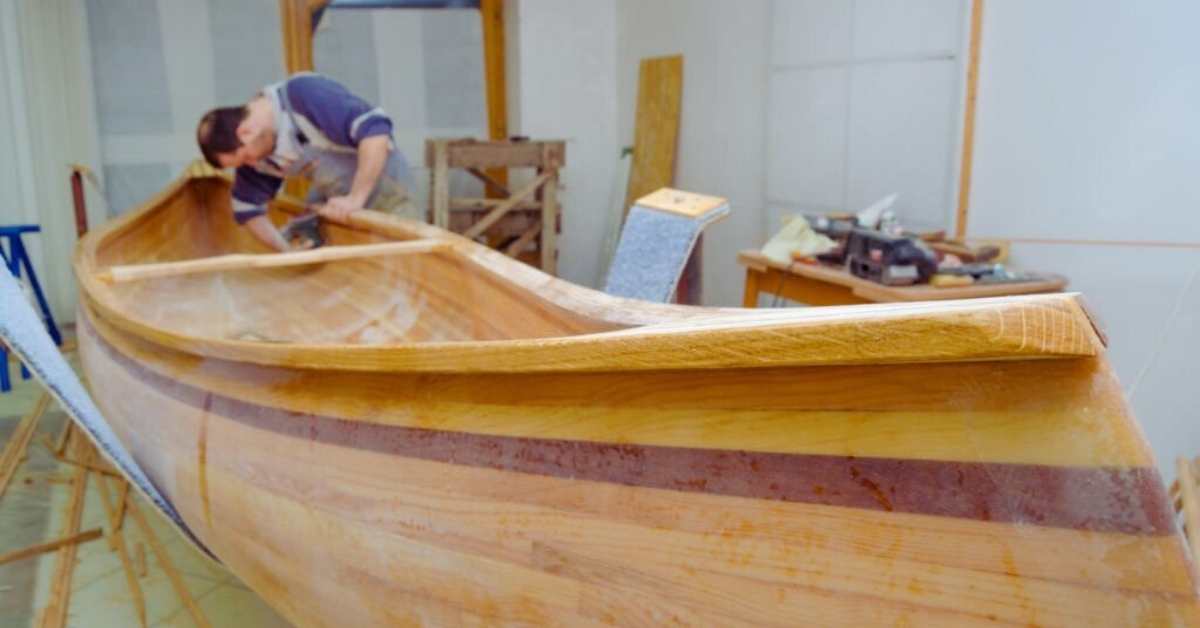
4. Attaching the Hull Panels
Attaching the hull sections is vital to kayak construction. The appropriate approach may make this procedure less overwhelming. Make sure you have hull panels, screws, and a power drill before starting. Lay down the panels on a level table and align them.
Then carefully drill pilot holes around the panels’ edges where they will be fastened using the power drill. After drilling pilot holes, fasten the panels.
Align the panels and gently tighten the screws into the pilot holes from one end. Work along the panels, securing them securely and evenly. This procedure secures the hull panels, giving your kayak a solid base and making your DIY project a success.
5. Securing the Deck Structure
Building a kayak requires deck structure security. Structurally solid decks protect paddlers and improve kayak performance. High-quality marine-grade epoxy and fiberglass cloth secures the deck structure easily and effectively.
First, evenly coat the deck with epoxy. Lay the fiberglass cloth over the epoxy and gently push it down to remove air bubbles. Ensure thorough soaking of the fiberglass fabric with another epoxy coating.
The deck and fiberglass will bind well, strengthening the structure. Repeat this technique with additional fiberglass cloth and epoxy layers to reinforce the deck.
After the epoxy cures, sand the surface smooth for painting or varnishing. This procedure will create a sturdy deck construction that can sustain kayaking experiences for years.
6. Installing Bulkheads and Hatches
First, ensuring vessel safety and structural integrity. It may seem difficult, but there is a simple way to do this work. Choose marine-grade plywood or fiberglass for bulkheads and hatches.
Measure and mark installation positions to optimize kayak balance and weight distribution. Next, use a jigsaw or other cutting instrument to precisely cut hatches and bulkheads.
Apply a strong adhesive or marine sealer to the bulkheads and hatches’ edges before fastening them. After installing the bulkheads and hatches, you may enjoy additional buoyancy, storage, and safety when kayaking.
7. Adding Comfortable Seating
Comfort is crucial to enjoying kayaking. Support and comfort may be greatly improved by adding comfy kayak seats. Using foam cushioning to make kayak seats comfy is straightforward. Cut foam padding to suit your kayak’s seat region after measuring it.
Next, attach the foam cushioning to the kayak seat using a strong adhesive or marine-grade glue. Additional foam padding may be added for cushioning.
Straps or Velcro may fasten foam cushioning to the kayak seat for a secure and comfortable fit. This prevents movement on the water. In 2023, comfy seating lets you kayak for hours and enjoy your activities.
8. Coating and Sealing for Water Resistance
Building a kayak requires suitable coating and sealing for water resistance. This may be done easily using epoxy resin and fiberglass cloth.
Sand the kayak’s surface to make it smooth and even. Cover the whole area with epoxy resin using a brush or roller.
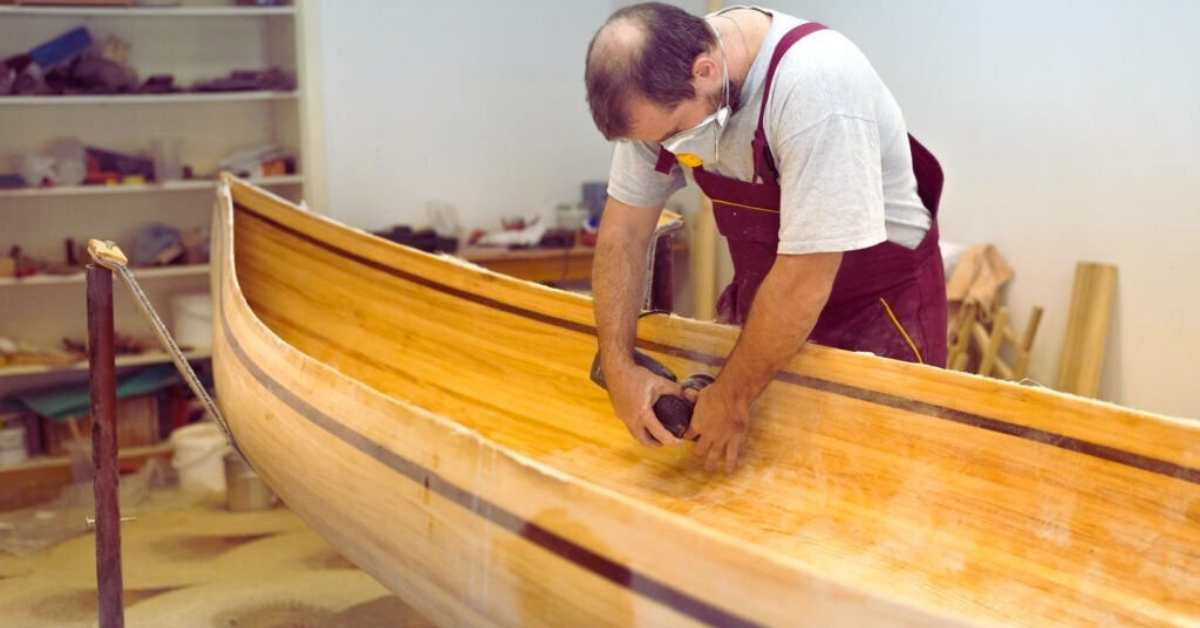
To guarantee complete adherence, gently put down the fiberglass cloth and push it into the wet resin. Next, fully saturate the fabric with resin.
This will provide a solid waterproof barrier. Allow the kayak to dry and cure per manufacturer’s recommendations.
After curing, sand the surface to eliminate defects and apply a final layer of epoxy resin for protection and shine.
By following this simple method, you can enhance the water resistance and strengthen the durability of your DIY kayak, ensuring you have many enjoyable years out on the water.
9. Applying Vibrant Kayak Finishes
Adding some color and personality to your kayak is a fantastic way to make it unique and eye-catching on the water.
By applying vibrant finishes, you can showcase your own personal style and flair. Even beginners will find that these finishes are easy to apply, allowing anyone to create a standout kayak design.
Clear your kayak to guarantee a smooth surface for finishing. Select your colors and designs. Spray paints, vinyl wraps, and custom decals are choices.
Follow directions carefully and apply thin, uniform layers to minimize drips and uneven coverage. Wait until each coat is dry before applying the next.
After achieving the desired appearance, apply a clear protective coating for durability. With little time and work, you’ll have a kayak that performs well and turns heads. Hit the water in style with your freshly completed bright kayak!
10. Fitting Kayak Accessories
Building a kayak is a pleasant experience. Inexperienced or experienced kayakers might benefit from the correct gear. Start by choosing kayaking accessories depending on your objectives and interests.
Paddle holders, fishing rod holders, anchor trolleys, and kayak seats are common attachments. Start by measuring and marking the kayak’s suitable positions with a pencil or tape to fit these attachments.
Drill holes in the designated areas, aligning and securing them. After that, fasten the attachments using screws or bolts. For a correct fit, follow the manufacturer’s directions and take your time. By customizing your kayak with the proper accessories, you can make paddling more fun and convenient.
11. Maintenance Tips for Longevity
Maintaining your kayak ensures its lifespan and many water excursions. Implementing a kayak maintenance program is simplest with a detailed handbook.
Clean and store your kayak carefully, examine and fix any damage using the advice. Clean your kayak with mild soap and water regularly to avoid corrosion and degradation from dirt and seawater.
The advice also stresses the significance of examining your kayak for cracks, leaks, and hardware and fittings. This nstructions will help you maintain your kayak and make it a trustworthy watercraft for future travels.
Safety Precautions
When building a kayak, prioritizing safety is of utmost importance. Here are a few essential safety precautions to remember:
– Wear appropriate safety gear, such as a life jacket, gloves, and protective eyewear, throughout the building process.
– Ensure you have a clean and well-ventilated workspace to minimize the risk of accidents or inhaling harmful fumes.
– Use the right tools and equipment for the job, and make sure they are in good working condition.
– Follow the instructions and plans carefully, and do not skip any steps or take shortcuts.
– Take breaks when needed to avoid fatigue, as tiredness can lead to mistakes and accidents.
– Keep your work area organized and free of clutter to prevent tripping hazards.
– Be mindful of your body position and posture while working, and avoid overexertion or strain.
– If using power tools, be cautious and follow all safety guidelines, such as wearing protective goggles and using clamps or vices to secure materials.
– Have a first aid kit readily available in case of any minor injuries that may occur during the building process.
– It is recommended to have a buddy or someone nearby who can assist in case of emergencies or when handling heavy materials.
To ensure a safe and enjoyable experience while constructing your own kayak, it is important to follow these safety precautions.
Wrapping Up
In summary, the guide “Easy Method to Build a Kayak 2023” is a comprehensive and user-friendly resource for constructing your own kayak.
It provides easy-to-follow instructions and useful tips, making it suitable for both beginners and experienced builders.
The guide’s clear language and illustrated visuals enhance the learning experience. Whether you’re interested in building your first kayak or looking for an efficient method.