On utilizing a kayak for a long time, paddlers come across to many customizations and install multiple handy tools to make the water rides extra convenient. Almost all kayak accessories require drilling holes to firmly attach the gear or mounting accessory.
However, while installing it is common for a paddler to feel a bit hesitant while modifying his favorite kayak. Therefore in this read, we are going to discuss how to drill into a kayak and how to safely install all your favorite gears into it.
Table of Contents
Mark A Waterline Of Your Kayak
The first and foremost step is to notice the waterline of the kayak. If you are not sure about the validated position it is better to take it to the water with a little weight on it to correctly mark the waterline.
Once it is identified, make sure to drill the hole above the line. This will prevent the water from entering the kayak’s hull and causing trouble in maneuvering.
Mark A Hole Point
Another prep work for drilling is to mark the exact hole point. It is better to take a test ride on a kayak to perfectly identify the position of your new mounting accessory. Mark the point with a marker or rub the spot with any pointing object to make it visible.
Choose Mounting System And Drill
While installing you will also be choosing the right mounting system for your kayak. Track-based mounting systems, post mounts, and ball mounts are most commonly used and manufactured by top-notch brands. The choice depends on the type of accessory you feel is convenient to fit in any mounting system.

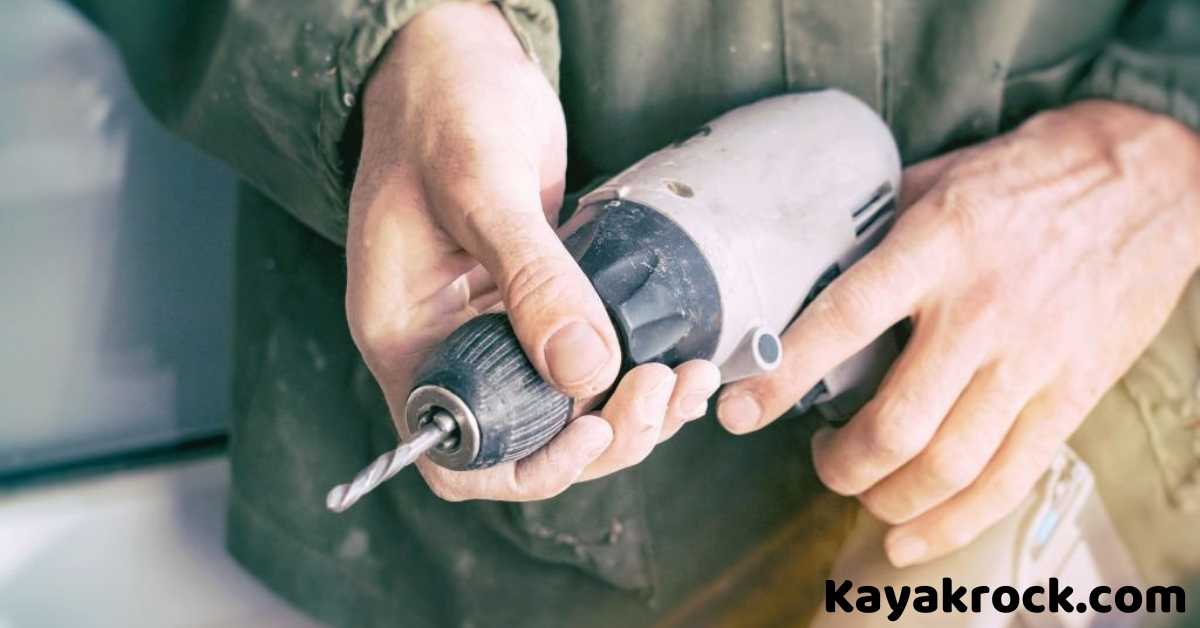
Now, it is time to drill a hole at the marked point. Make sure the drill pin is a bit smaller than the bolt or nut to make the strong fixing.
Also, drill one at a time and insert the screw in it to avoid distracting the mounting system. Repeat the process till all the holes are made and insert the screws one by one.
What Type Of Screws Should I Use In A Kayak?
Self-Tapping Screws
The stainless steel self-tapping screws are the most widely-used option to fix two surfaces. Their stainless steel ability makes them rust-resistant when used in water.
Self-tapping screws are openly recommended to attach rod and paddle holders, camera mounts, and other lightweight fixing materials not reserved for carrying heavy equipment.
Bolts Washers And Nuts
For a heavy load mounting system bolts, washers and nuts are ideal among all. It is also stainless steel manufacturing and water-friendly which keeps the attachment stiffer for a long time.
However, the function of bolts, washers, and nuts is limited to the regions where you can reach the back area of the fixing place. Since their installation remains incomplete without reaching the back end and tightening the washers.
For the sit-inside cockpit, side walls, and any other spot in the kayak where you feel it easier to reach the back area is best to use bolts, washers, and a nut system.
Trifold Rivets
The trifold rivets are considered the optimal solution for gripping an irregular hole or uneven surfaces together. It has a long shaft half of which is coated with metal. Trifold rivets reach the blind surfaces and split into three legs making a strong bond.
To insert the rivet, turn the metal side towards the hole and go through it. Then by using a rivet tool exert pressure until the metal is split into three legs. The upper shaft can be removed with the cutter to avoid mishaps with the pointing pin.
Rivets come in a variety of shapes and materials depending upon the need and convenience.
How To Fix The Holes In A Kayak
If you have drilled an irregular hole or want to replace the position of the hole, luckily you have the opportunity to repair the unnecessary hole and completely permit the water from entering into it.
For a long-term solution, plastic welding proves the most inexpensive and simplest idea to repair the holes in a kayak.
The HDPE plastic can be easily obtained from anywhere, you can also utilize the empty plastic cans in your home to make the process more convenient.
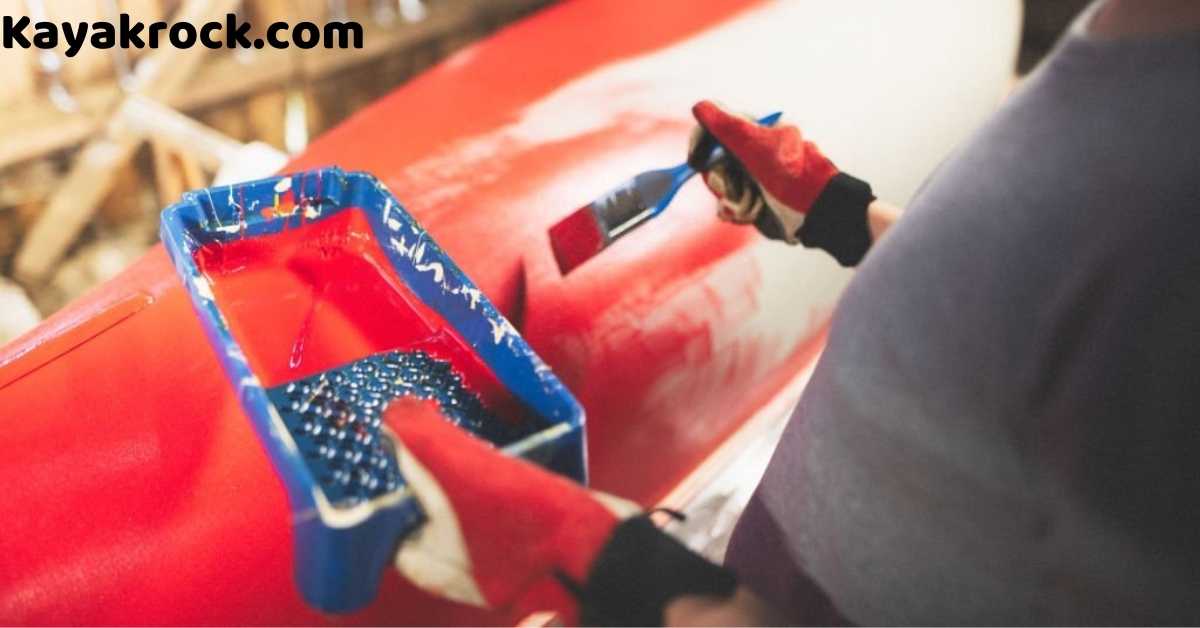
Firstly take the flat part of the plastic and cut a piece in a specified shape according to the size of the hole. Now take the welding tool and melt the plastic at the hole. Make sure the melting material has perfectly entered the hole providing s strong layer of reinforcement outside.
Additionally, before starting welding make sure to wear safety gloves to minimize the effect of burning due to hot welding tool.
However, in case of a hole located a bit lower than the waterline can also be refilled with the same method but with an extra layer of mesh wire over the first layer and again melting the plastic material on the mesh wire. It makes the reinforcement extra strong and waterproof avoiding kayak sinking.
Although, it is advisable to take a test drive after plastic welding to ensure there is no water going through the repaired hole. A few water drops are tolerable, in case of more water, try applying an extra layer of plastic welding till the area becomes water free.
Conclusion
Drilling holes in a kayak and mounting the first accessory is no doubt a daunting task. It demands proper guidance, workable tools, and a bit of experience to deal with the process efficiently.
We advise you initially go with the already installed mounting spots to avoid going through the difficult activity.
However, in case of extra modifications make sure to have a small practice of drilling on any other surface. Also, the presence of an experienced person can make you smoothly go through the drilling holes.
In case of drilling an irregular hole or needing to replace the position of the hole, we have you covered by mentioning the easiest way to repair the hole.
For my thesis, I consulted a lot of information, read your article made me feel a lot, benefited me a lot from it, thank you for your help. Thanks!
The point of view of your article has taught me a lot, and I already know how to improve the paper on gate.oi, thank you.
Reading your article has greatly helped me, and I agree with you. But I still have some questions. Can you help me? I will pay attention to your answer. thank you.