Kayaking is a great way to exercise, stay fit and enjoy nature. However, kayaking can be difficult for beginners. Outriggers can improve the stability and enjoyment of kayaking.
Outriggers stabilize kayaks by adding support to the sides. If you want to Build Homemade Kayak Outriggers, though, there are many options.
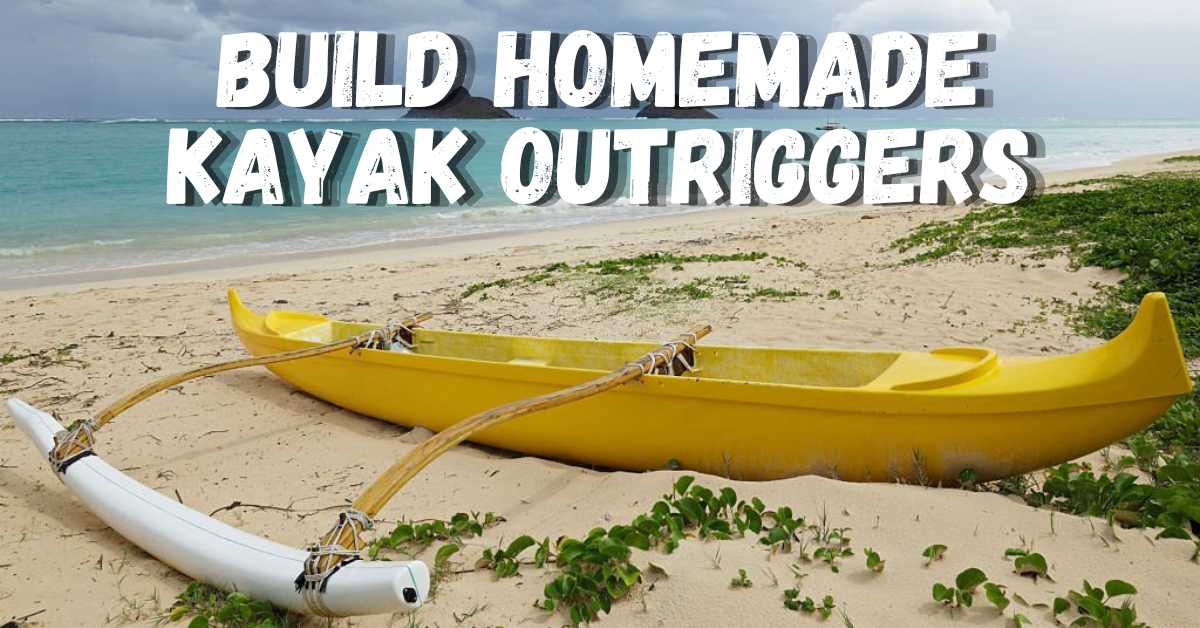
Build your own Homemade Kayak Outriggers. Everything from equipment and tools to measurement and assembly will be covered.
Whether you have years of kayaking experience or you’re a novice just getting started, this guide is designed to assist you in navigating your way through your
Table of Contents
Understanding the Need for Outriggers
When build homemade outriggers for a kayak, it is very important to understand their need.
Adding outriggers to a kayak can greatly enhance its stability and safety, particularly in challenging conditions or when carrying heavy loads.
These additional extensions create a wider base, minimizing the risk of capsizing and providing a more secure platform for paddling.
It is important to consider the materials used to construct the outriggers as well as their proper placement and attachment to the cake. Correct installation and regular maintenance of outriggers is essential to guarantee their effectiveness and durability.
Materials and Tools
The following is a list of materials and tools required for constructing homemade kayak outriggers:
Materials:
– PVC pipes (2-inch diameter)
– PVC elbows (2-inch diameter)
– PVC T-joints (2-inch diameter)
– PVC end caps (2-inch diameter)
– PVC cement
– Eye bolts
– Nuts and washers
– Nylon rope
– Buoyancy aids (such as pool noodles or foam blocks)
– Zip ties
Tools:
– Hacksaw or PVC cutter
– Drill
– Drill bits
– Screwdriver
– Measuring tape
– Marker
It is imperative to ensure that all materials and tools are of high quality and appropriate for the intended use. Proper safety precautions should also be taken during the construction process.
Build Homemade Kayak Outriggers Step-by-Step Construction

Let’s get construct your homemade kayak outrigger in this step:
Measure and Cut PVC Pipes
To make your own homemade outrigger, accuracy is essential when measuring and cutting PVC pipes. A systematic approach can help ensure health.
Begin by determining the required length of PVC pipes based on your design specifications. Use a measuring tape to mark the exact points where the cuts need to be made.
It is important to ensure that the cuts are made to fit properly at right angles. Finally, smooth any rough edges using sandpaper.
By following these steps, you’ll be able to efficiently measure and cut PVC pipe to build your own homemade outrigger.
Assemble the Outrigger Arms
To create your own homemade outrigger, you’ll need to assemble the outrigger arms. Here’s a simple three-step guide to help you out.
Step 1: Gather all the necessary materials and tools including the outrigger arms, bolts, nuts, and a wrench.
Step 2: Attach the outrigger arms to the main body of the outrigger using the provided bolts and nuts.
Step3: Make sure to tighten them securely for stability and proper functionality. Pay close attention to detail and ensure precise execution during assembly.
Remember, correctly assembling the outrigger arms is crucial for ensuring overall stability and functionality of your homemade outrigger. So take your time and follow these steps carefully for best results.
Drill Mounting Holes
If you want to make your own outrigger, you’ll need to make the mounting holes in the right places. Here’s a simple three-step process:
Step 1. Use a measuring tape and pencil to mark where you want to make the hole.
Step 2. Make small indents on each mark using a center punch.
Step 3. Carefully drill the holes using an appropriately sized drill bit. Make sure to keep the holes straight and drill them to the correct depth.
Following these steps will ensure that your homemade outrigger has correct and secure mounting holes.
Attach the Outriggers
To ensure the stability and safety of the vessel, it is important to securely attach outriggers. You can construct a homemade outrigger using appropriate materials and tools.
It is crucial to follow the required guidelines and regulations when constructing and attaching the outrigger.
This will provide the necessary support and balance for a safe and successful voyage. Taking these precautions helps prevent potential accidents or mishaps.
Attach Floats
One may construct a homemade outrigger by attaching floats. This can be achieved by following the steps outlined below:
Step 1. Select suitable floats that are of appropriate size and buoyancy.
Step 2. Securely attach the floats to the sides of the canoe or boat using strong ropes or cables.
Step 3. Ensure that the floats are evenly spaced and balanced to provide stability and prevent tipping.
Step 4. Test the outrigger in calm waters before venturing into rougher conditions.
Step 5. Regularly inspect and maintain the outrigger to ensure its continued effectiveness and safety.
If you follow these guidelines, you can effectively construct your own homemade outrigger using floats to improve stability and safety when out on the water.
Test and Adjust
When building your own outrigger, testing and making adjustments are crucial to ensure its stability and safety. Begin by testing the outrigger in calm waters to assess its stability.

If needed, make design adjustments to improve its stability. Once you deem the outrigger stable, test it in rougher waters to ensure it can withstand various conditions.
Make further adjustments as necessary. Thoroughly testing and adjusting the homemade outrigger is important to ensure the safety of those who will be using it.
Safety Precautions
Always put safety first when building DIY kayak outriggers. First and foremost, you must have the ability and expertise to complete this assignment.
If in doubt, consult an expert. Wear safety goggles, gloves and dust mask when working with equipment and materials. Before starting construction, read and understand the instructions.
Build your kayak using durable materials that can withstand water and weight. Make sure your DIY outriggers are stable before using them. This can be done in a pond or still body of water to guarantee proper operation.
Kayaking requires a PFD and whistle for safety in the event of an emergency. Check your DIY outriggers for wear and damage and repair or replace as needed. Finally, use common sense and observe local laws while kayaking to guarantee a safe and fun experience.
Pros & Cons
Before embarking on the project of building a homemade outrigger, it is very important to consider the pros and cons. Weighing these pros and cons can help you make an informed decision.
Constructing a homemade outrigger has both advantages and disadvantages. Therefore, individuals should assess their skills and requirements thoroughly before undertaking such a project.
Final Words
If you want to improve the stability and maneuverability of your watercraft, it is recommended to construct a homemade outrigger.
You can easily achieve this by using common materials and following proper construction guidelines.
It is crucial to prioritize safety throughout the building process and when operating the outrigger. Seeking guidance from experienced individuals or professionals in this field is also advisable to ensure optimal results.
By implementing these measures, you can enjoy a safer and more efficient watercraft experience. Always remember the significance of proper preparation and caution when engaging in water activities.